NL
NL
Washing and polishing the exterior doesn’t just make it look good. A clean motorhome exterior protects the paintwork against corrosion. It removes salt and insects. It also preserves the long-term value of your motorhome. Washing regularly during and after your trip prevents dirt from bonding to the bodywork, so no rust can form. Mud, salt and tree sap leave their marks in specific places. Read on to discover how to clean and protect your motorhome properly.
Preparation before washing
Park the motorhome on a flat surface in the shade. Direct sunlight causes the water to dry too quickly, which leads to water spots and streaks. Before you start washing, check that all windows, rooflights and doors are properly closed. This prevents water getting into the motorhome while you are cleaning it.
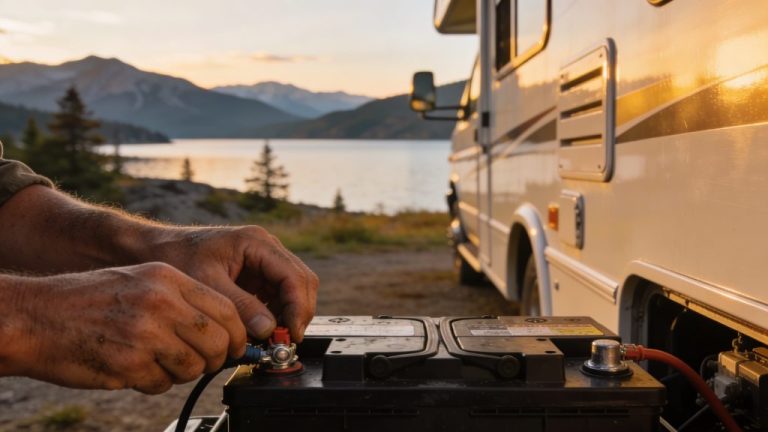
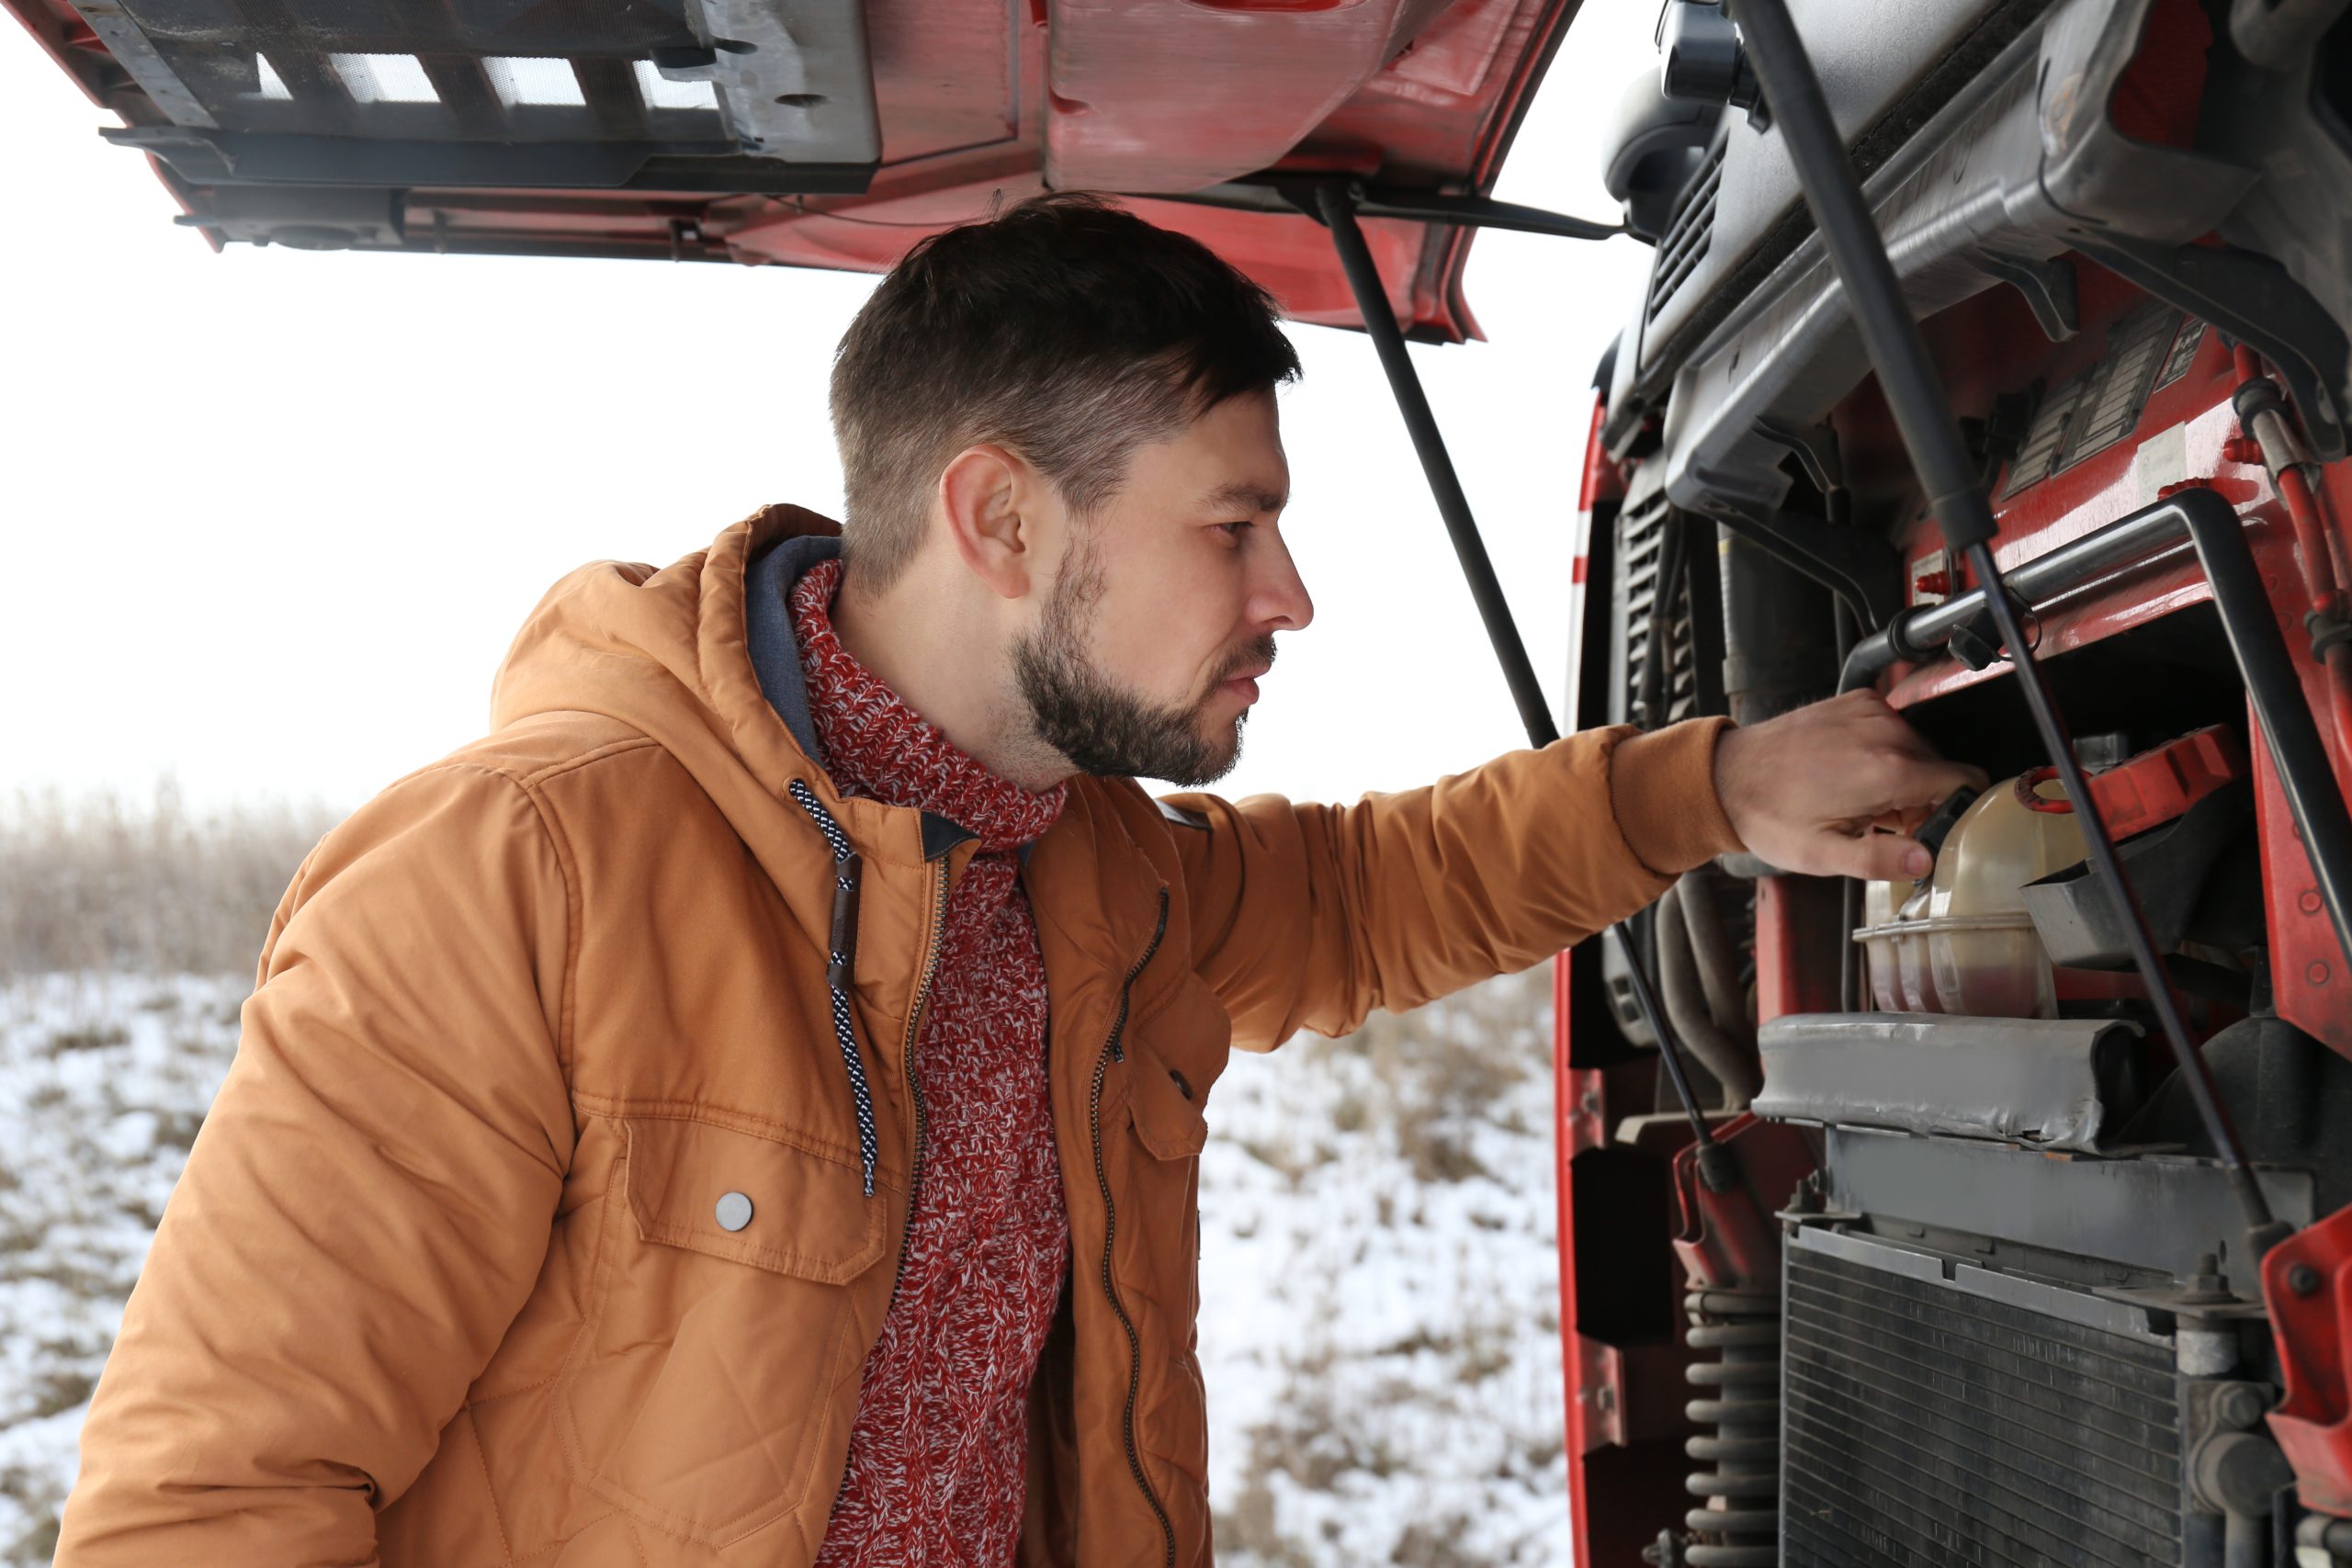
Start by rinsing off the underside of the motorhome. Use a pressure washer to clean the wheel arches, bumpers and wheels thoroughly. Mud and sand build up here and can cause scratches if you start scrubbing straight away. Keep the pressure washer at least 30 centimetres away from sensitive parts such as locks, cameras and air intakes. With electric motorhomes, never wash while the charging cable is plugged in.
Step-by-step washing with the two-bucket method
The two-bucket method helps prevent scratches while washing. Fill one bucket with car shampoo and lukewarm water. Place a grit guard in the bucket. A grit guard is a grid that keeps dirt at the bottom of the bucket. Fill the second bucket with clean water for rinsing out the wash mitt regularly. This method keeps sand and dirt separate from your wash water.
Wash in the following order:
- Wheels and tyres: Clean the wheels and tyres first using wheel and tyre cleaner or an all-purpose cleaner. An all-purpose cleaner is a versatile cleaner suitable for various surfaces. Work it in with a brush and rinse thoroughly. Wheels collect the most dirt, so start here to avoid contaminating the rest of the motorhome again.
- Pre-wash: Apply snow foam or pre-wash to the entire motorhome, including the front, sides and rear. A foam cannon is an attachment for a pressure washer that lets you apply foam. Leave it to work for 2 to 5 minutes. Insects, mud and traffic film will then loosen. Do not let it dry. Rinse off from top to bottom.
- Main wash: Foam the motorhome again with car shampoo using a foam cannon. Wash with a soft microfibre wash mitt in circular motions. Always work from top to bottom. Rinse the mitt regularly in the bucket of clean water. Don’t forget seams, sills and the exhaust.
- Rinsing: Rinse off all the shampoo with the pressure washer or a garden hose, again from top to bottom. Check the hard-to-reach areas, for example around rooflights and wheel arches.
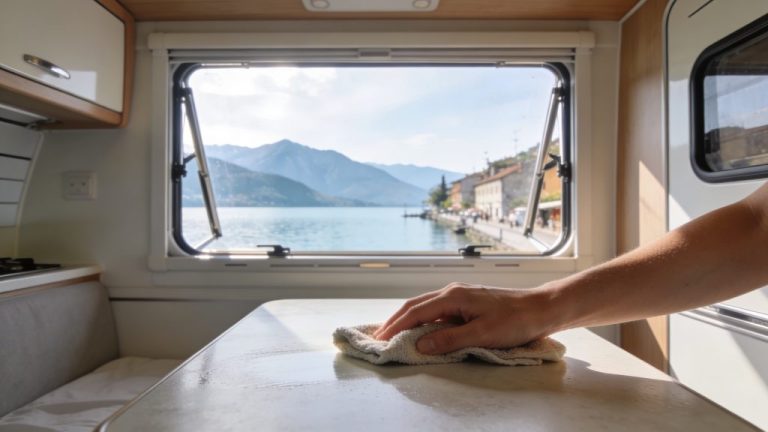
- Drying: Dry the motorhome immediately with a soft microfibre drying towel or chamois. Pull from top to bottom to prevent water spots.
Cleaning and checking rooflights
Rooflights collect leaves, dirt and insects. After washing, check whether the drainage openings of the rooflights are clear. Blocked drains can lead to leaks in the motorhome. Clean the rubber seals around the rooflights with a damp cloth. Then lubricate them with silicone spray or a special rubber care product. This keeps the rubbers supple and prevents cracking.
While cleaning, check whether the rooflights close properly. A good seal prevents water ingress and draughts. Being fully prepared means checking all maintenance points. Read more about motorhome checks and maintenance for a complete overview of inspections before you set off.
Lubricating window and door rubbers
Rubbers around windows and doors are affected by sun, rain and temperature changes. Dry rubbers can crack, allowing water and cold to enter. After washing, lubricate the rubbers with silicone or glycerine spray. Apply a thin layer and spread it evenly with a clean cloth.
First clean the rubbers thoroughly before lubricating them. Dust and dirt reduce the effectiveness of the care product. Check whether the rubbers are still intact. Small cracks or hard spots are warning signs that replacement is needed. Regular lubrication extends the lifespan of the rubbers and keeps them elastic.
‘ Small rust spots are early warning signs. ’
Checking the chassis for rust
The chassis of the motorhome is vulnerable to rust, especially after trips through areas where salt is used on the roads or in coastal climates. Rinse the chassis thoroughly while washing. Pay extra attention to wheel arches, crossmembers and weld seams where water and mud tend to sit. These areas rust more quickly.
Visually inspect the chassis after washing. Small rust spots are early warning signs. Deal with them quickly. Remove surface rust with a wire brush and then treat the area with a rust-inhibiting primer. Have serious rust damage repaired by a specialist. Also check the exhaust and mounting points for parts such as the tow bar and spare wheel carrier.

Polishing and protecting the paintwork
After washing, remove stubborn dirt with a clay bar and detailer spray. A clay bar is a special clay-like block that removes bonded contamination from the paint. Detailer spray is a lubricant used while claying. Gently glide over the paint without scrubbing. This removes baked-on tar, tree sap and insect residue that didn’t come off during washing.
Polish the paint with a polish for extra gloss and protection. Then apply wax or sealant. A sealant is a synthetic protective layer that provides long-lasting protection against dirt and weather. Wax provides a protective layer against UV radiation and the elements, helping the paint to stay looking good for longer. This is especially useful on long journeys through areas with a lot of sun or changeable weather. Apply the wax with an applicator pad and buff off with a clean microfibre cloth.
How often should you wash your motorhome?
Wash the motorhome after every drive on muddy roads. Also wash it after a drive along the coast, and after travelling on salted winter roads. Salt and mud quickly damage the paint and chassis. After a long trip it is also wise to wash the motorhome to remove accumulated dirt before it bonds.
Always dry the motorhome straight away, even after rain. Water contains minerals that leave streaks on the paint. At campsites, water use is sometimes limited. Steam cleaning is an alternative there. This method uses little water, about 5 litres, and no chemicals.
‘ Moisture in seams can cause mould and rust. ’
Common mistakes when washing a motorhome
Scrubbing while there is still sand or mud on the motorhome leads to scratches. Always rinse thoroughly first before you start washing. Washing in full sun causes rapid drying and therefore water spots. Wait until the motorhome is in the shade, or wash early in the morning or late in the afternoon.
Do not use household cleaning products on the paintwork. They are too aggressive and damage the protective layer. Choose a car shampoo that has been specially developed for vehicles. Don’t forget to clean the drain holes in the doors. Blow the seams dry. Moisture in seams can cause mould and rust.
Discover more about motorhome maintenance
On the Traveler Tips website you will find extensive information about motorhome maintenance and preparing for your trip. There are also practical tips for on the road. From technical checks to handy checklists: discover everything you need to ensure your motorhome trip runs smoothly and without worries.
Frequently asked questions
Wash the bodywork thoroughly with car shampoo (two-bucket method) and first rinse away sand, salt and insect residue to prevent scratches and corrosion. Work from top to bottom, including wheel arches, sills and seams, and then dry completely with a soft microfibre cloth to avoid water spots. Polish the paintwork and apply a protective wax or sealant for extra protection against UV radiation, dirt and weather influences during the trip. Finally, check rubber seals, trim and drain holes in doors and blow them dry so that no moisture or dirt remains.
On the road you can usually wash your car at petrol stations with automatic car washes or self-service wash bays along motorways and near large cities, including abroad. Many campsites and holiday parks have special wash areas or mobile cleaning services that come to your pitch. In tourist areas you can also find local car wash businesses via Google Maps or navigation apps by searching for “carwash” or “Autowäsche”. Abroad, always check the local regulations and preferably use official wash facilities because of environmental rules.
On the road, use microfibre cloths and a plant spray bottle with diluted, biodegradable car shampoo to remove insects and stains straight away. Where possible, choose a (mobile) steam cleaner: this uses little water and often no chemical products. Drive through a car wash or use a wash bay with water recycling instead of washing at home with a garden hose. Avoid washing the car in full sun so you need less product and don’t get streaks.
Take a bucket with car shampoo and a microfibre wash mitt, plus a separate bucket with clean water for rinsing. Bring a wheel and tyre cleaner with a small brush for the wheels. Take a bottle of insect remover or pre-wash spray for the front and mirrors. For finishing, a large microfibre drying towel and optionally a spray wax or detailer spray are useful to quickly add gloss and protection.
A well-maintained exterior increases driving comfort because dirt, insects and tree sap are removed, so windows, mirrors and lights remain clearly visible. The shiny, clean exterior also gives a neat and professional impression, which adds to a pleasant feeling on the road. By protecting the paintwork and materials against corrosion and the weather, the motorhome continues to feel quieter and more solid, which enhances peace of mind during the trip. In this way, the overall travel experience becomes both more comfortable and more enjoyable.