NL
NL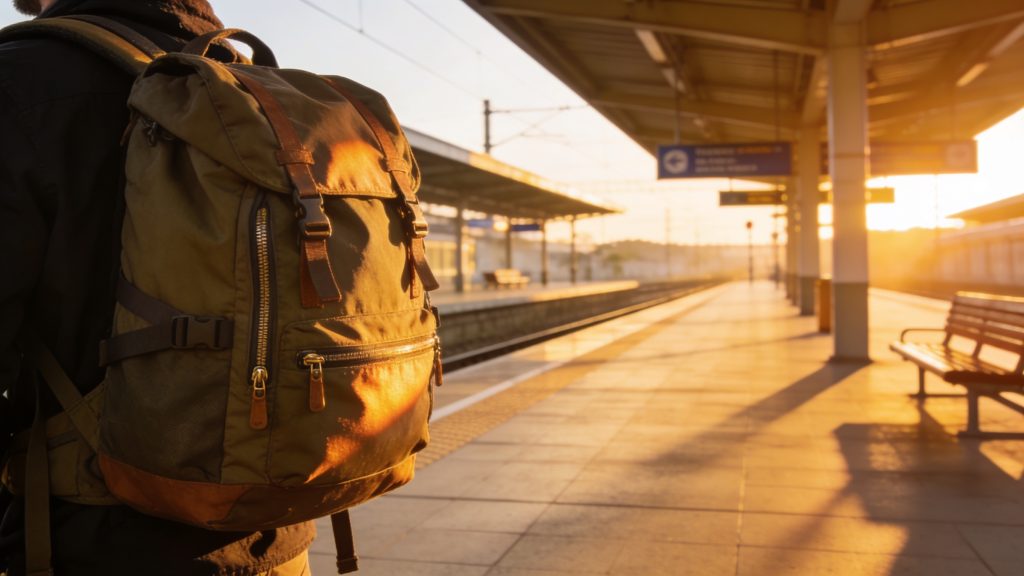
Your first time backpacking by train – in other words, travelling by train with just a backpack and a flexible travel plan – starts with three important choices: select a well thought-out route with a matching rail pass, only book your first overnight stay in advance and pack deliberately light. This approach helps you build confidence, stay flexible and enjoy the journey itself, not just the destinations. Read on for the complete step-by-step plan.
Why a step-by-step plan for your first train backpacking trip?
Travelling by train with a backpack requires a different kind of preparation than a flight or a driving holiday. Your planning is more flexible, but you do need to take train connections, transfer times and international reservations into account. A structured approach helps you set off more calmly and enjoy the journey more along the way.
Many first-time train travellers make similar mistakes: booking too much in advance, packing too heavily or planning a schedule that’s too tight. With this step-by-step plan you avoid those pitfalls and make your first trip smoother and more enjoyable.
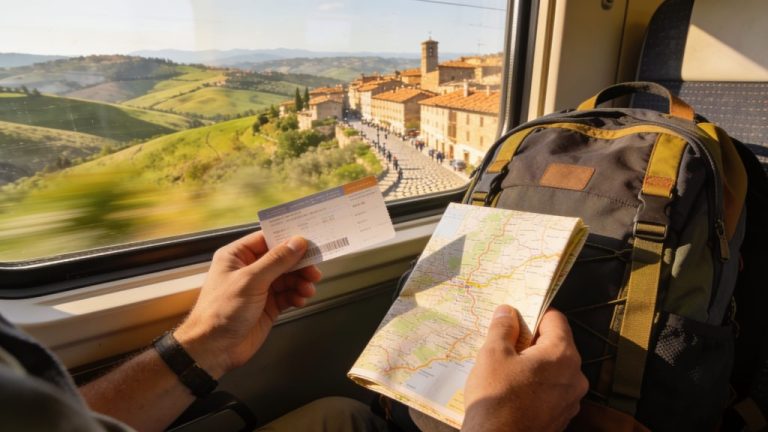
Step 1: Choose your route and decide whether a rail pass is useful
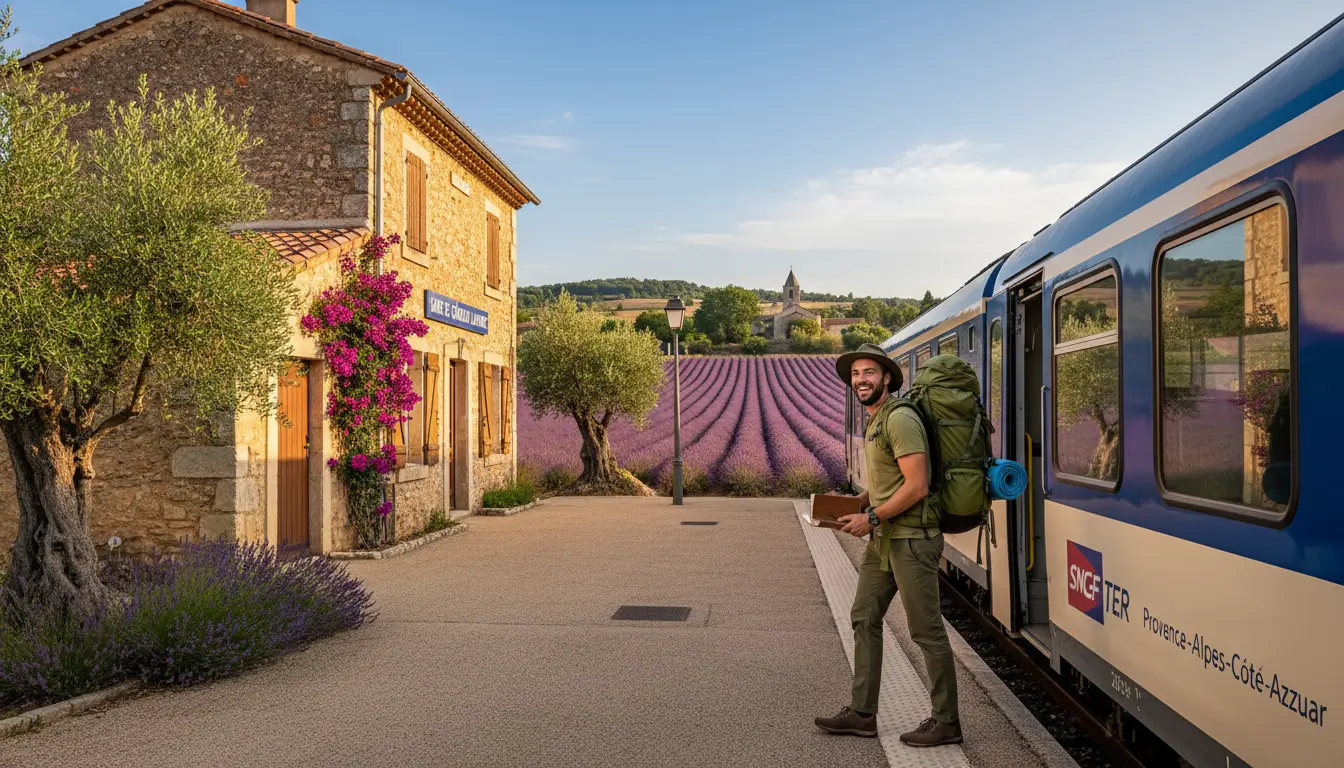
Start by sketching out a rough route. Think about which cities or regions you want to visit and how they are connected by train. For a first time, a route through Western or Central Europe often works well, as there are strong international rail connections there.
Don’t fix everything in detail. Work with blocks of several nights per destination. This gives you room to adjust on the road if a city disappoints or turns out to be more fun than expected. Take realistic distances and transfer times into account.
Next, decide whether a rail pass such as Interrail is good value for you. This depends on your route, the number of travel days and whether you use high-speed trains. Note:
- Some trains require a separate seat reservation, even with a pass
- Regional trains are often more flexible and cheaper than fast international services
- Individual tickets can be cheaper for shorter routes or fewer travel days
- Always activate your journey in the app or ticket environment before you board
Step 2: Only book your first hostel or accommodation
Only reserve the first one to three nights of your trip. This gives you a calm start and a clear address to travel to. You deliberately leave the rest of your accommodation open or semi-open.
This way of working offers several advantages. You can still adjust your route on the way, you get tips from other travellers in hostels and you feel less tied to a rigid schedule. In addition, you gradually learn how booking and travelling work, without having to have everything organised from the start.
For your first nights, choose accommodation that’s close to the arrival station, offers late check-in and has good access to public transport. This prevents stress in case of delays or a late arrival.
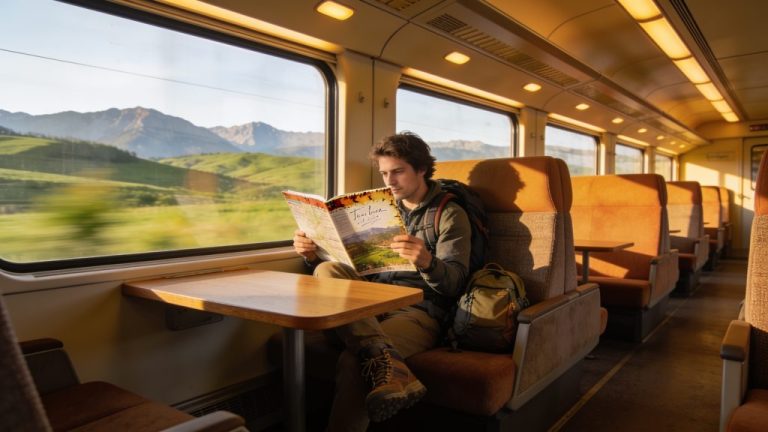
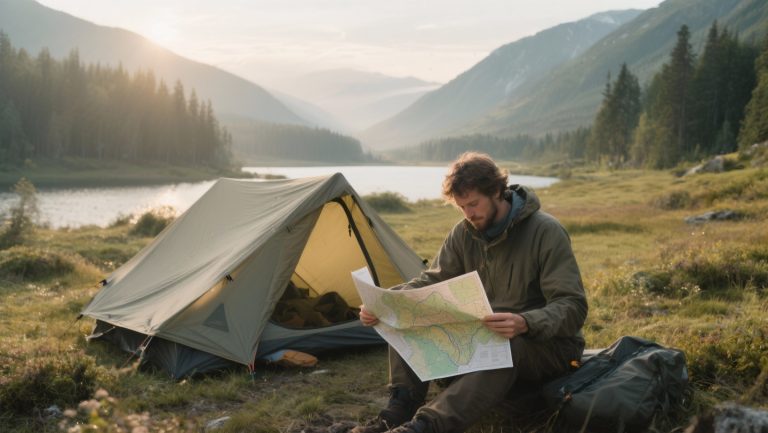
Step 3: Pack deliberately light
Take less than you initially think you need. When travelling by train you often lift, carry and move your luggage yourself: on stairs, platforms and during short transfer times. A compact, well-packed backpack makes your journey a lot more comfortable.
When choosing a backpack, pay attention to the fit, the weight of the pack itself and a sturdy hip belt. For train travel, a slightly smaller pack is often more practical than a huge backpack. Make sure the pack fits in the luggage racks and that you can lift it quickly.
Useful items to take with you:
- Clothes that combine easily and dry quickly
- A lightweight rain jacket
- Power bank and charger
- Refillable water bottle
- Small padlock for lockers
- Earplugs for sleeping in shared rooms
- Foldable daypack for outings
Always keep important items close to hand in a small bag or side pocket: passport, tickets, wallet, phone and medication. This prevents you having to open your main backpack at every check or transfer.
‘ Do remember to factor in any extra costs for reservations, even if you have a rail pass. ’
Step 4: Arrange important reservations in good time
Some trains require a pre-booked seat reservation. This applies especially to high-speed trains, international routes and night or sleeper trains. Check in advance whether reservations are compulsory, recommended or optional.
For beginners it’s sensible to lock in the most complex routes in advance. That way you know you have a seat and avoid stress at busy stations. Do remember to factor in any extra costs for reservations, even if you have a rail pass.
When changing trains, it’s better to allow a bit more time than to rely on a very tight connection. This gives peace of mind if there are delays and helps you avoid missing your next train.
Step 5: Organise travel documents and backups
Make sure you have all the necessary documents in order before you leave. Take:
- Valid passport or ID card
- Any visas or entry permits
- Health insurance card and proof of insurance
- Tickets and reservations saved offline
- Backup of important documents in the cloud or on your phone
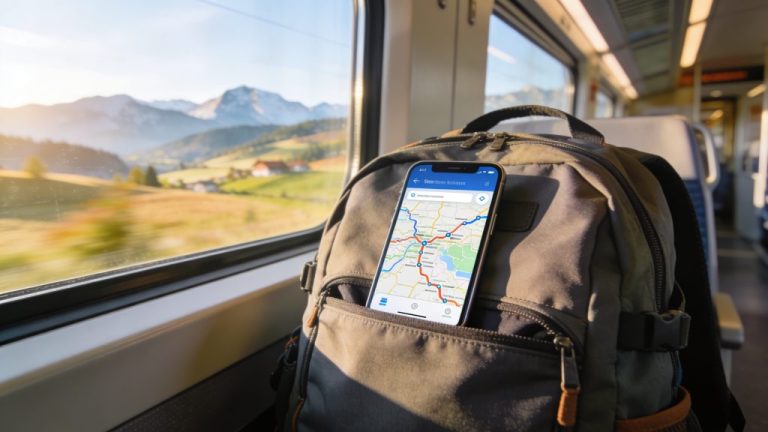
Also make a small list with emergency numbers, the address of your first accommodation and contact details of any travel companions. Download offline maps and install a train app that works without an internet connection.
Step 6: Recheck your route shortly before departure
A few days before departure, check whether your plan is still up to date. Timetables can change due to engineering works, disruptions or seasonal schedules. Check that your reservations are correct, your pass is activated and your documents are complete.
This is also a good moment to take a critical look at your luggage again. Put items you’re unsure about to one side and ask yourself whether you’ll really use them several times. Often those things end up staying at home after all.
‘ A test trip gives you confidence in your luggage, your planning and how you react to unexpected situations. ’
Step 7: Start with a short test trip to build confidence
Consider doing a short trial trip of one or two days before your big journey. This could be a domestic train journey or a day trip to a neighbouring city. That way you can practise packing, changing trains and finding your way around stations without the pressure being high straight away.
A test trip gives you confidence in your luggage, your planning and how you react to unexpected situations. You discover what works well and what doesn’t, so you can take those insights with you on your longer backpacking trip.
What you learn along the way
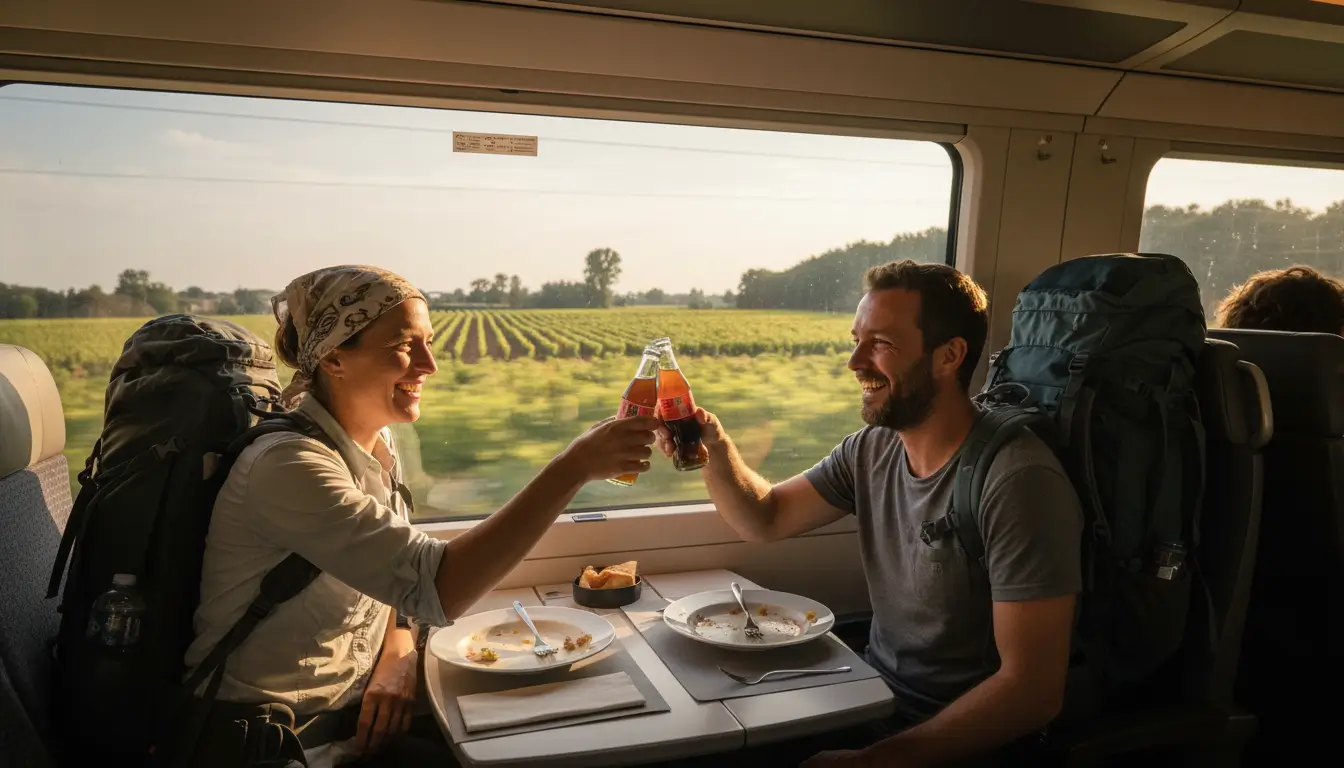
During your first train backpacking trip you’ll notice that the train itself is part of the experience. Use travel time to adjust your route, book accommodation, download offline content or simply rest between busy days.
Many experienced train travellers say that spontaneity is a big part of the fun. You discover on the spot which cities are worth staying longer in, which routes are too busy and which local tips turn out better than your original plan. Allow space for that and don’t let your schedule dictate your trip.
Practical checklist before departure
Before you leave:
- Route roughly mapped out
- First nights booked
- Rail pass or individual tickets arranged
- Any seat reservations made
- Documents checked and backed up
- Packed light with functional clothing
- Offline tickets and maps saved
On the road:
- Keep your luggage compact and organised
- Keep passport and tickets within easy reach
- Plan generous transfer times where possible
- Stay flexible when facing delays or changes
- Ask other travellers for local tips
‘ Sort out the practicalities properly, but leave room for spontaneous choices along the way. ’
Discover more on Traveler Tips
Your first train backpacking trip will be most enjoyable if you plan in broad strokes, pack light and stay flexible. Sort out the practicalities properly, but leave room for spontaneous choices along the way. That way you’ll get the most out of the train journey itself and the destinations you visit.
On the Traveler Tips website you’ll find plenty more information about train travel, routes through Europe, packing lists and practical tips for different types of trip. Discover which route suits you and prepare your next journey even better.
Frequently asked questions
Start by choosing a region with good rail connections (for example Western or Central Europe) and create a rough route in broad blocks (2–3 nights per city) instead of a tight day-by-day schedule. Then check whether a rail pass or individual tickets are cheaper and more practical, and only reserve the busy or complex routes (such as high-speed and night trains). Pack light and practical so your luggage fits easily in racks and on stairs at stations, and always keep important items close to hand. Finally, plan generous transfer times and book only your first nights and your most important trains in advance so you can stay flexible on the road.
For most international train backpacking trips in Europe, an Interrail Global Pass or Eurail Global Pass is the most suitable, as they allow you to travel flexibly through multiple countries. If you mainly take longer journeys and several cross-border routes, such a global pass is often cheaper than individual tickets. If you mainly travel within one country or a limited number of countries, compare a One Country Pass (or national rail passes) with the price of individual train tickets. Always check whether you need to reserve and pay a supplement for fast trains (high-speed or night trains) and how those extra charges affect the total price.
Essential items for a smart train backpacking packing list include a well-fitting, not too large backpack, a light and multifunctional clothing set (preferably quick-drying) and a compact rain jacket. Add a power bank, reusable water bottle, small padlock, earplugs and, if needed, a universal travel adapter for comfort on the road. Make sure your passport/ID, tickets, health insurance card, medication and charger are always quickly accessible, for example in a bum bag or small daypack. A foldable daypack or tote bag is handy for day trips and extra shopping so you don’t have to take your whole backpack every time.
Ensure safety by roughly planning your route in advance, allowing generous transfer times and keeping important documents (ID, tickets, insurance details) to hand both physically and digitally. Choose hostels or accommodation close to the station, aim to arrive in daylight where possible, and keep an eye on your luggage on trains and platforms. For an authentic experience, leave buffer days open, talk to locals and fellow travellers on the train and use their tips to find less touristy spots. Don’t see the train purely as transport, but as part of the trip, so you can observe, write or take photos along the way and really get to know the country.
Indispensable tools for train backpackers include good travel and rail apps such as Rail Planner (Interrail/Eurail), the NS International app and the national rail apps of the countries you travel through. In addition, use navigation and map apps such as Google Maps or Maps.me with offline maps for stations and city walks. For accommodation and last-minute deals, Booking, Hostelworld and Airbnb are useful, and for budgeting, apps like Trail Wallet or Splitwise come in handy. Finally, translation apps (for example Google Translate) and cloud storage (for example Google Drive) for tickets and documents are very practical.