NL
NL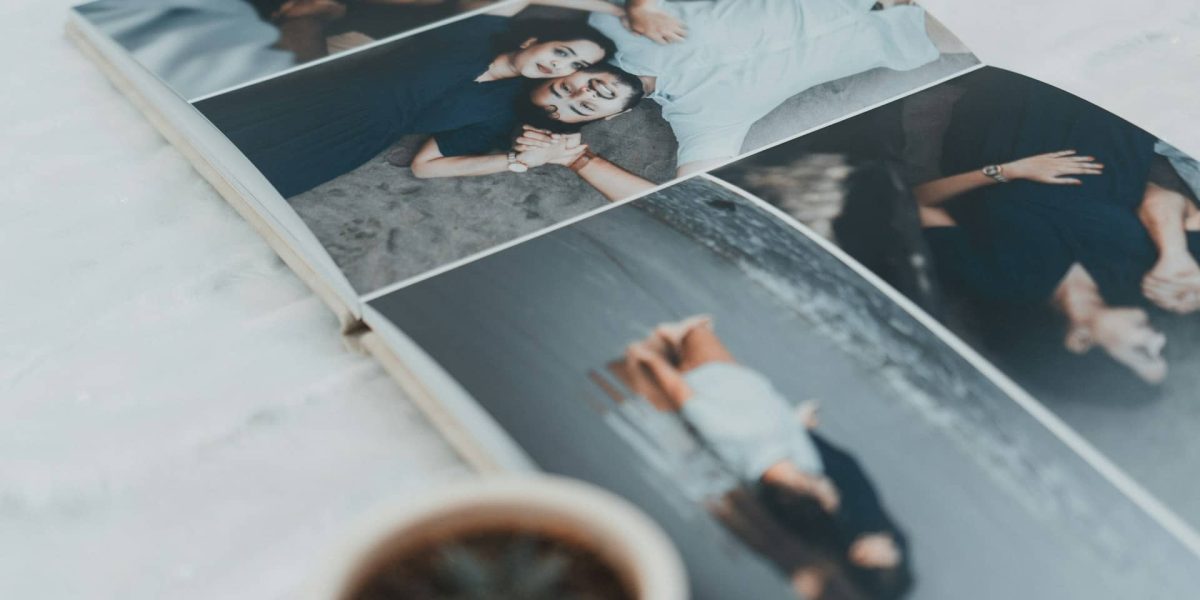
creating a holiday photo book: a handy step-by-step plan
Creating a holiday photo album is a wonderful way to capture and cherish your memories. It gives you a tangible keepsake of the adventures and special moments you have experienced. In this article, I will guide you step by step through the process of creating a beautiful and personal holiday photo book. Whether you are a seasoned scrapbooker or this is your first attempt, with this handy step-by-step guide you are sure to achieve a result you can be proud of.
Preparation
- Choose your theme. Before you start, it is important to choose a theme for your photo book. This can be based on a specific trip, a particular country, or a general holiday theme. Having a theme helps you create a cohesive and visually appealing book.
- Gather your photos. Start by collecting all the photos you want to use. These can be digital photos, but also printed copies that you can scan. Organise them into folders by day or by activity to make things easier later on.
- Select the right size. The size of your photo book determines much of the design. Do you want a large book to place on the coffee table, or a smaller, more handy size? It is important to decide this in advance.
The layout of your photo book
- Use of templates. Many online photo book services offer templates you can use. These templates are useful because they provide a basic structure that you can customise as you wish. Choose a template that matches your theme and style.
- Page layout. The layout of your pages is crucial for the flow of your photo book. Think about how many photos you want to place on each page and how you want to group them. Vary between single pages and two-page spreads for a dynamic effect.
- Backgrounds and frames. Use backgrounds and frames to make your pages visually appealing. Choose colours and patterns that match your theme and create a harmonious whole. But be careful not to overdo it; your photos should play the leading role.
Selecting and editing photos
- Choose the best photos. Selecting the best photos can be a challenge, especially if you have many to choose from. Choose photos that tell the story of your trip well and that are technically successful (good exposure, sharpness, etc.).
- Edit your photos. Even the best photos can sometimes use a bit of adjustment. Use editing software to improve exposure, enhance colours or remove unwanted elements. Do make sure your photos continue to look natural.
- Add captions and stories. A picture is worth a thousand words, but captions and short stories can make your photo book even more personal. Tell something about the context of the photo, what you were thinking or feeling at that moment, or interesting facts about the place.
Designing your photo book
- Creative elements. Use creative elements such as stickers, clip art and illustrations to brighten up your pages. These can tie in thematically with your trip and create a playful effect.
- Use of text. In addition to captions, you can also add longer texts, such as an introduction at the beginning of your book, chapter titles, or a closing message. Make sure the text is easy to read and does not make the layout too busy.
- Consistency in style. Maintain a consistent style throughout your book. This means using the same fonts, colour palette and general layout principles. Consistency ensures a professional-looking final result.
Printing and finishing
- Choose the right printing service. There are many different photo book providers available for printing photo books. Choose a service that has good reviews and is known for the quality of its prints. Also pay attention to delivery times and any additional costs.
- Paper selection. The choice of paper is important for the appearance and durability of your photo book. Glossy paper provides vibrant colours, while matt paper can give a more elegant look. Also consider the thickness of the paper; thicker paper is sturdier and feels more luxurious.
- Finishing and binding. The finishing and binding of your book can make a big difference. Choose a hard cover for a durable and professional result. There are also options such as linen or leather covers that give a luxurious look. For the binding you can choose between glued, sewn or ring-bound, depending on your preference and how it will be used.