NL
NL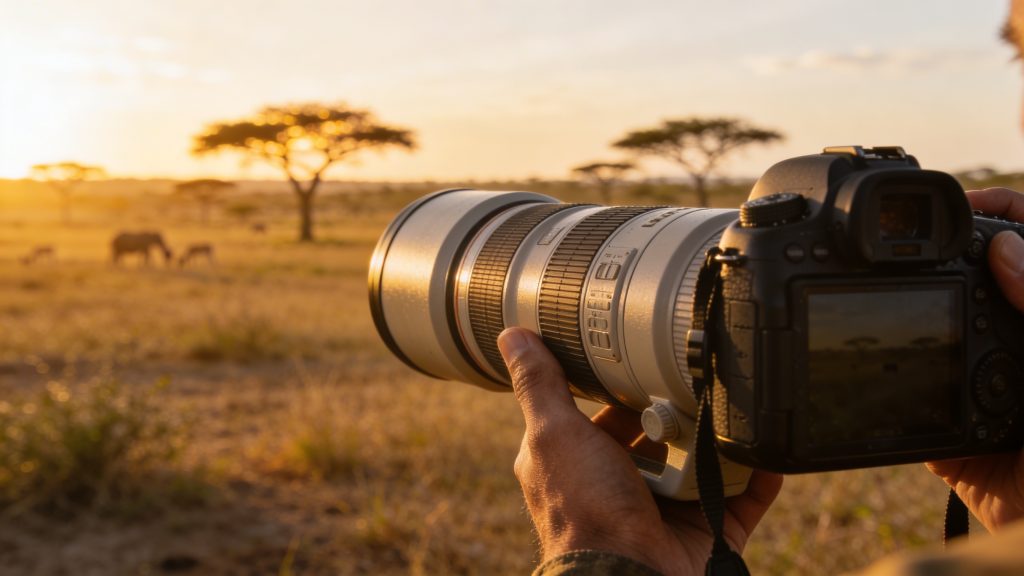
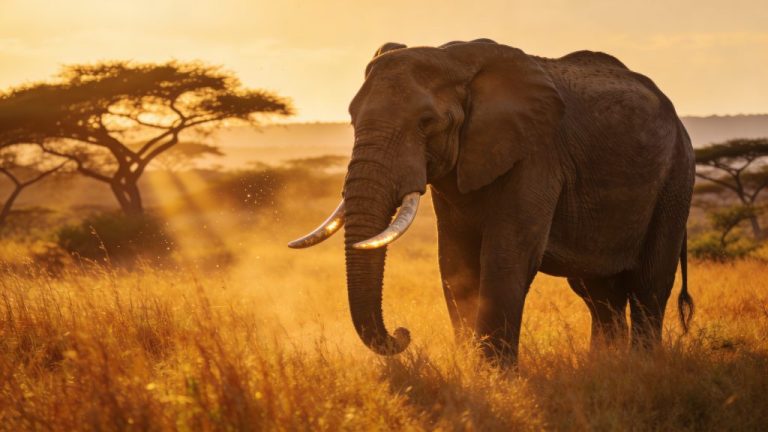
The most impressive shots of wild animals are taken on game drives in the early morning light or the golden hours before sunset. With the right camera settings, the right lenses and some patience, you can take sharp, expressive photos, even from a moving vehicle. You may be going on wildlife holidays for the first time or already have some experience. These tips will help you achieve professional results in both cases.
Choose the right lenses and accessories
The right equipment makes the difference between a blurry photo and a sharp close-up. Game drives require flexibility. Distances are constantly changing. That is why you should opt for versatile lenses: a wide-angle lens between 24 and 100mm is ideal for landscapes and environmental shots. A telephoto lens of 200 to 400mm brings distant animals closer. This way you do not have to approach too closely. By taking both lenses with you, you are prepared for unexpected situations.
Always bring extra memory cards and batteries. Burst mode uses up batteries and storage quickly. You take several photos in a short time. Consider a second camera body to avoid changing lenses in dusty conditions. For stability, use a beanbag on the vehicle railing. A beanbag is a sort of cushion filled with pellets. It provides a stable base without passing on the vehicle’s vibrations to your camera. Ask the guide to switch off the engine when you have a good sighting to reduce vibrations even further.
‘ Always focus on the animal’s eye. ’
Camera settings for sharp shots
Speed is especially important for sharp wildlife photos. Set your shutter speed to at least 1/1000 second. Choose an even faster shutter speed for animals in motion. You also need a fast shutter speed when shooting from a moving vehicle. A fast shutter speed freezes the action and prevents your photos from becoming blurry due to movement.
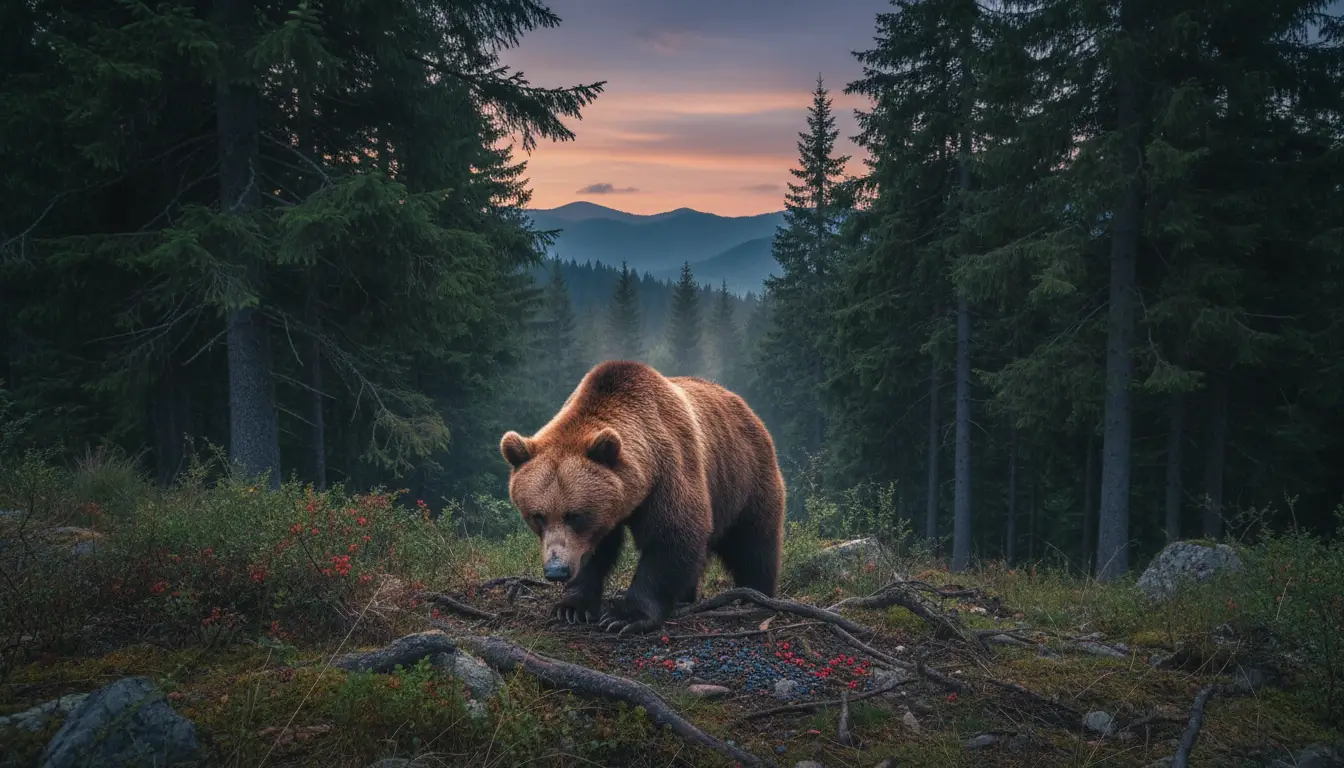
Use a wide aperture to let in more light. For example, f/2.8 or f/5.6. This is important during early morning drives, late evening drives or night drives when the light is limited. A wide aperture also gives a shallow depth of field. The background becomes slightly blurry. You place the focus on the animal. Always focus on the animal’s eye. This gives your photo expression and makes it stand out.
Increase your ISO value when there is little light. Stabilise your camera to reduce noise. Modern cameras can handle high ISO values without the quality deteriorating too much. Switch on burst mode and use autofocus with tracking for moving animals. Think of a leaping leopard or birds taking off. Many cameras have animal eye detection. This function automatically focuses on the animal’s eye.
What works in different lighting conditions?
During morning drives and at sunrise, the light is at its best. The sun is low, so the light is warm and soft. Set your shutter speed to at least 1/1000 second. Use burst mode. Anticipate silhouettes as the sun rises. These are moments when animals are active and the light creates dramatic effects.
On night drives there is less light, but also a greater chance of special sightings. Use a wide aperture and increase your ISO value. Lower your shutter speed slightly. Pan along with moving animals to capture a sense of movement. This way the image does not become too dark. Stabilisation is even more important here.
In bright daylight you can use a higher f-number for more depth in your photo. Increase the distance to the background. You make better use of the depth of field. This gives you more detail in both the animal and the surroundings.
Composition and creative techniques
A technically sharp photo is a good start, but composition is what makes the difference. Always focus on the animal’s eye and use the light to highlight it. This brings your photo to life and draws the viewer’s attention.
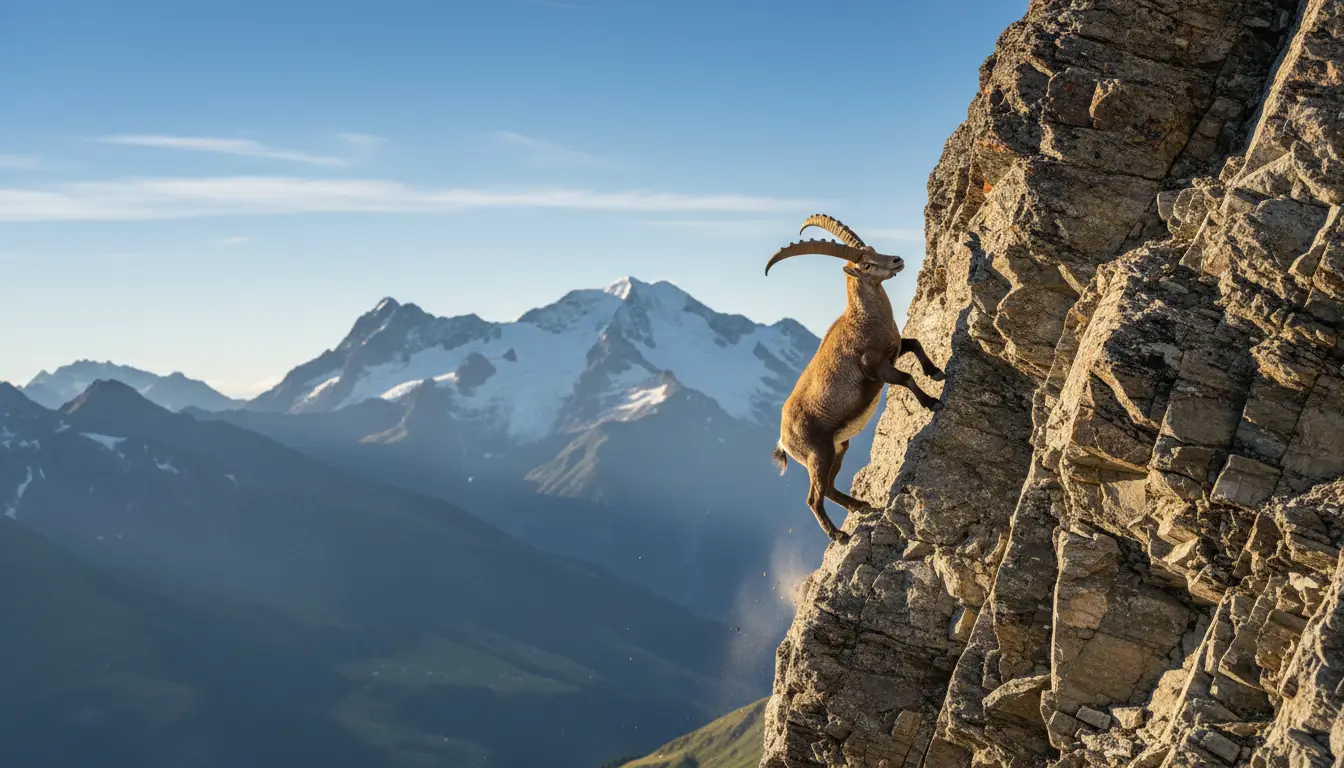
Vary your perspectives. Sit lower down for eye-level shots. This gives the feeling that you are at the same height as the animal. Tilt slightly for a sense of movement or sit higher up for an overview of the environment. Use branches, grass or other foreground elements. This adds framing and depth to your photo.
Apply the rule of thirds. Do not place the animal in the centre of your photo. Place it on one of the imaginary lines that divide the frame into thirds. Lead the eye with natural lines in the environment. Think of paths, rivers or branches. Experiment with negative space. You leave plenty of empty space around the animal. This creates a calm, powerful composition.
Tell a story. Look for interactions between animals or contrasts in behaviour. Also look for synchronised movement. Check your background for distracting elements. Think of branches, vehicles or bright patches. Wait for the perfect moment. Patience often produces the best shots.
‘ Safety and the animals’ wellbeing always come first. ’
Practical tips during the drive
Timing makes the difference between an average and an exceptional photo. Go on morning and evening drives for active animals and golden light. Start in the dark to catch the sunrise. This gives the most beautiful colours and silhouettes. Stay alert and spot animals yourself so you can point them out to the guide. Also pay attention to common species. They can yield equally interesting photos.
Behave respectfully by staying seated calmly and not shouting. Stay seated in the vehicle, avoid excessive movement and follow the guide’s instructions. In private reserves you are sometimes allowed to drive off-road for a better position. Safety and the animals’ wellbeing always come first. Do not use drones. They are banned in most reserves, due to strict regulations and to preserve peace and quiet for wild animals.
Keep learning and experimenting
Practise your camera settings before you travel. Familiarise yourself with the buttons at home. Then you can quickly adjust to changing light conditions during the drive. Keep your camera switched on and within easy reach, because special moments can happen suddenly, even during quiet stretches of the drive.
Combine these techniques with observation and patience by keeping a close eye on animal behaviour and taking enough time for each moment. Wildlife photography is about timing, but also about respect for the animals and their environment. Every drive is different. Every moment offers new opportunities to capture unique images.
On the Traveler Tips website you will find more information about planning nature holidays, the best destinations for wildlife and practical preparation tips for your trip. Take a look at our other articles for concrete route suggestions and a free checklist for your wildlife gear.
Frequently asked questions
Take at least one versatile zoom lens (e.g. 70–200mm or 100–400mm) and, if possible, a second body with a wide-angle lens, plus plenty of charged batteries and large-capacity memory cards. Use a beanbag or other support for stability on the edge of the vehicle and keep a blower, soft brush and microfibre cloth handy to remove dust from lens and body. Protect your gear with a sturdy, dust- and splashproof camera bag or rucksack and, if necessary, rain covers for camera and lens. Keep lenses mounted as much as possible to avoid changing them in dusty conditions and store loose items in sealed bags or pouches.
Use a fast shutter speed of at least 1/1000s (faster if the vehicle is driving quickly), a relatively wide aperture (e.g. f/2.8–f/5.6) and raise the ISO until your histogram looks good without motion blur. Set autofocus to continuous tracking (AI Servo/AF-C) with eye or animal detection and use burst mode to capture multiple frames per action. Stabilise your camera with a beanbag or your elbows on the window ledge and switch the engine off as soon as possible to reduce vibrations. For static animals, focus precisely on the eye and let the background blur; for moving animals, pan smoothly in the direction of travel.
In harsh, high-contrast light use spot metering or exposure compensation and try to shoot in the softer morning and evening hours; in strong backlight you can create silhouettes or slightly overexpose to preserve detail in the animal. Protect your equipment from dust with lens cloths, a rain cover or plastic bag and change lenses as little as possible, ideally with the camera facing downwards. For composition, use the rule of thirds, let the animal look or move into the open space and check the background for distracting elements. Use foreground (branches, grass or parts of the vehicle) to create depth and a natural frame around your subject.
Ideally sit at the back or along the side of the vehicle so you have an unobstructed view and can turn more easily without hindering others. At the start of the drive, discuss your photo goals with the ranger (e.g. backlight, action, portraits), so that he or she can take light and positioning into account. Use soft, specific communication during sightings (“a bit more to the left if possible”, “can we wait a moment until it looks up?”) and avoid shouting or sudden movements. Always follow the ranger’s instructions on distance and switching the engine off, so the animals do not feel threatened and continue to show natural behaviour.