NL
NL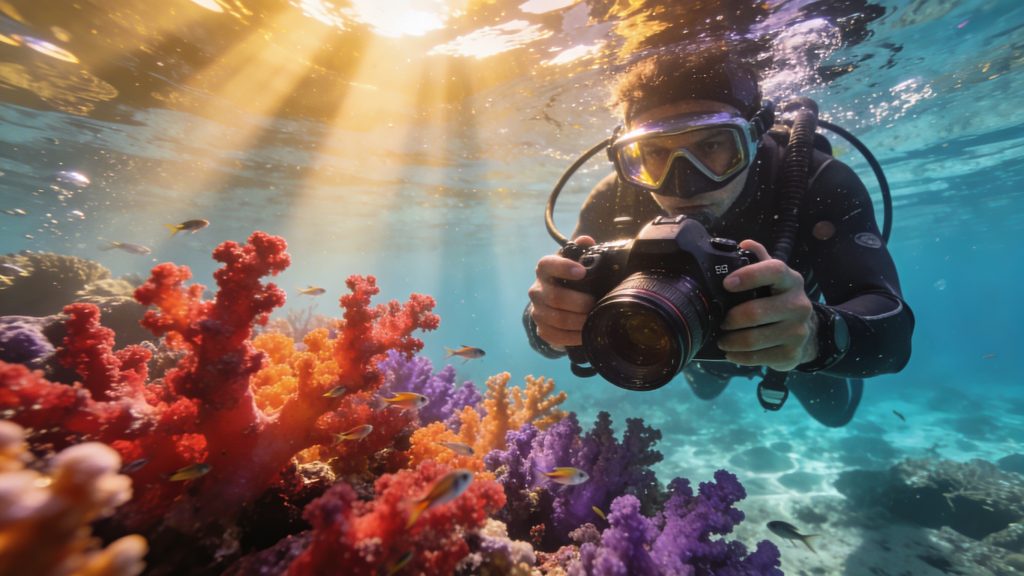
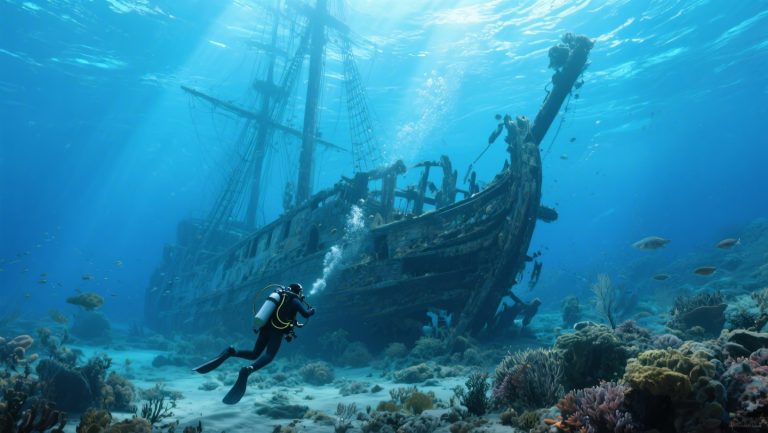
Underwater photography brings the hidden world beneath the surface straight into your home. With modern action cameras, GoPros and waterproof photography gear, you can capture impressive images of coral reefs, marine life and underwater landscapes during diving and snorkelling holidays. On top of that, many dive photographers contribute to scientific research via citizen science programmes. These are research projects in which scientists make use of observations and photos from volunteers. The Manta Trust, an international organisation that studies and protects manta rays, for example uses your photos to monitor marine fauna. Do you want to enter the water well prepared and know which equipment and techniques you need?
Which cameras are suitable for underwater photography
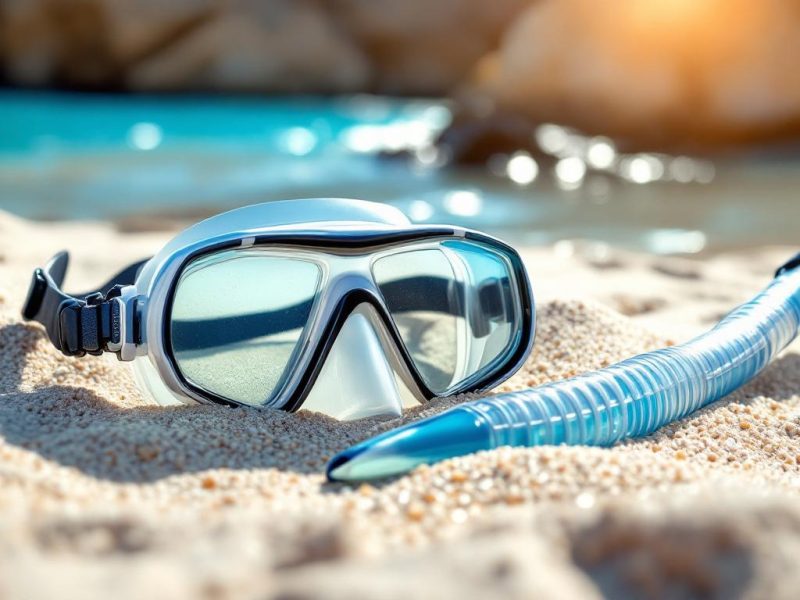
Your choice of camera depends on your experience, budget and the type of holiday you are planning. For beginners booking a diving holiday or snorkelling trip, compact action cameras such as a GoPro or DJI Osmo Action are an excellent starting point. These cameras are robust, waterproof down to 10 metres without an extra housing, and deliver sharp images in clear water. They are light and easy to attach to your wrist strap or dive mask.
If you want more control over your settings, consider a compact camera with an underwater housing. Brands such as Canon, Olympus and Sony offer models that are waterproof down to 15 metres or more. These cameras often have more manual options for focusing, exposure and white balance, which gives you flexibility when light conditions change under water.
For advanced photographers who dive deeper and aim for professional quality, mirrorless cameras or DSLRs with specialised underwater housings are the best choice. These housings protect your camera to depths of 40 metres or more and give you full access to all buttons and settings. They are more expensive and bulkier, but deliver exceptional image quality, especially in combination with external flashes and lenses.
‘ A tiny grain of sand or a single hair can cause a leak and total loss of your camera. ’
How do you protect your camera under water
A waterproof housing is the foundation of safe underwater photography. These housings are designed for specific camera models and protect against water pressure, salt and impacts. Before each use, check the O-rings for cracks, dirt or wear. A tiny grain of sand or a single hair can cause a leak and total loss of your camera.
Lubricate the O-rings regularly with silicone grease, but do not use too much. Excess grease actually attracts dirt. Always test your housing first without the camera by submerging it under water for a few minutes and then checking for leaks. This prevents costly damage during your holiday.
Add extra protection with buoyancy aids that you attach to your housing. These keep your camera neutrally buoyant so it does not sink if you let go of it while diving. Also use a wrist strap or neck cord (a cord or strap you wear around your neck) to secure your camera during transfers between boat and water.

Which settings should you use for underwater photos
Light behaves differently under water. Layers of water absorb colours: red disappears already at a depth of 5 metres, orange at 10 metres. Blue and green tones remain visible for longer. To compensate for this, you adjust the white balance. Many cameras have an underwater mode, but manual white balance often gives better results. Take a white balance card with you. You can also set the white balance using a grey or white reference point under water. This gives you a neutral starting point for accurate colours.
Use a fast shutter speed to freeze movement. Fish and other sea creatures move quickly. Currents cause additional motion blur. A shutter speed of at least 1/125 second works well for most situations. For larger animals such as rays or sharks you can reduce it slightly to 1/60 second.
The aperture determines sharpness and how much light enters. For landscape shots of reefs, use a smaller aperture such as f/8 or f/11. This ensures lots of sharpness throughout your photo. For close-ups of small sea creatures, choose a larger aperture such as f/4 or f/5.6 to separate your subject from the background.
Flash or an underwater strobe (a special flash that helps restore colours under water) helps bring back colours and lift shadows. Use two strobes for even lighting and position them at an angle above your camera to avoid reflections from floating particles. Start with the strobes at half power and adjust based on your test shots.
How can you contribute to citizen science through photography
Citizen science programmes use photos from divers and snorkellers to monitor populations and behaviour of marine animals. This allows scientists to study larger areas and longer periods. The Manta Trust is a well-known example. This programme collects photos of manta rays to identify individual animals based on unique spot patterns on their belly. By submitting your photos, you help scientists map migration patterns and population size.
Other programmes focus on coral reefs, sea turtles, whale sharks and seahorses. Organisations such as Reef Check, a worldwide network that monitors the health of coral reefs, and iNaturalist, an online platform where you can share nature observations, accept photos from divers around the world. You do not need to be an expert: the photos are checked and validated by biologists before they are added to research databases.
To contribute, take clear photos of identifiable features such as spots, scars or fin shapes. Note the location, date and depth of your dive. Upload your photos via the programme’s website or app. Some organisations give feedback on which animal you have photographed and what your contribution means for the research.
‘ Patience is important. ’
Tips for beautiful underwater photos
- Get closer: Water reduces contrast and sharpness. Try to get within 1 to 2 metres of your subject for clear images.
- Shoot at eye level: Position yourself or hover at the same level as your subject. This gives more natural perspectives than shooting from above.
- Watch your buoyancy: Practise your buoyancy control so you can stay stable without touching the bottom or coral. This protects the reef and prevents murkiness in your photos.
- Make use of natural light: Dive in the morning or around midday when the sun is high. This provides more light and more vibrant colours at shallow depths.
- Experiment with angles: Try taking photos from below with the water surface in the background, or use macro settings for close-ups of small details such as coral polyps.
- Patience is important: Wait until fish calm down and get used to your presence. Hasty movements scare your subjects away.
Maintenance and preparation during your trip
Rinse your camera and housing with fresh water immediately after each use. Salt corrodes metal parts and damages O-rings. Use a large container or bucket and soak everything for at least 5 minutes. Then carefully dry your equipment with a microfibre cloth and an air blower.
Store your camera in a protective bag or rucksack with towels as extra padding during transport. Remove batteries and memory cards between dives to prevent corrosion and data loss. Take spare batteries, memory cards and a small toolkit with you for emergency repairs.
Test all your equipment at home before you travel. Take practice photos in a swimming pool or shallow water to get familiar with your settings and housing. This prevents disappointment on your first diving day.
On the Traveler Tips website you will find much more information about planning diving holidays, the best destinations for underwater photography and practical tips for nature trips. Discover more and prepare your next journey in the best possible way.
Frequently asked questions
For beginners, road trip destinations with gentle currents and easily accessible reefs are ideal, such as the Red Sea in Egypt. Some parts of Indonesia with calm water are also very suitable for taking your first underwater photos. Choose locations where you can snorkel easily from the beach, so you are not immediately dependent on deep boat dives.
For travellers, affordable and user-friendly options such as a GoPro (e.g. Hero series) with a simple waterproof housing and floating wrist strap are very suitable. For those who want a bit more control, compact cameras with a dedicated underwater housing (such as compact Canon or Sony models) are a good intermediate step. Combine the camera with a basic set of accessories: waterproof housing, wrist or neck lanyard with floater and, if desired, one simple video light for better lighting. Always test the housing first without the camera in shallow water and rinse everything with fresh water after use to prolong the life of your equipment.
Protect your underwater camera while travelling by carrying everything in a shock-absorbing bag or rucksack, surrounded by soft clothing or towels, and storing sensitive parts such as dome ports in protective covers. Use lanyards and floating straps on the boat and while diving to prevent loss or knocks. Rinse the entire housing and accessories thoroughly in plenty of fresh water immediately after use in salt water, let them soak briefly and dry with a soft microfibre cloth. Check and clean O-rings after every day of diving, lubricate them lightly with silicone grease and remove batteries and seals for longer-term storage.
Make as much use of natural light as possible: photograph in shallow water, in clear weather and with the sun behind you, and avoid zooming in so that you see fewer floating particles. Stabilise yourself by having good buoyancy control and keeping both hands on the camera to reduce motion blur. Get close to your subject instead of zooming to capture colours and details more clearly. Rinse your housing with fresh water after every dive and check the O-rings so your lens stays clear and leaks do not ruin your photos.
No, you do not necessarily need prior knowledge of diving or snorkelling to start with underwater photography, but it does help enormously for your safety and calmness in the water. It is sensible to first learn basic skills in snorkelling or (for deeper shoots) diving, so you are not struggling with your camera and your buoyancy at the same time. For example, start in calm, shallow water with simple equipment such as an action cam in a waterproof housing. As you become more comfortable in the water, you can shift your focus to composition, exposure and advanced camera settings.