NL
NL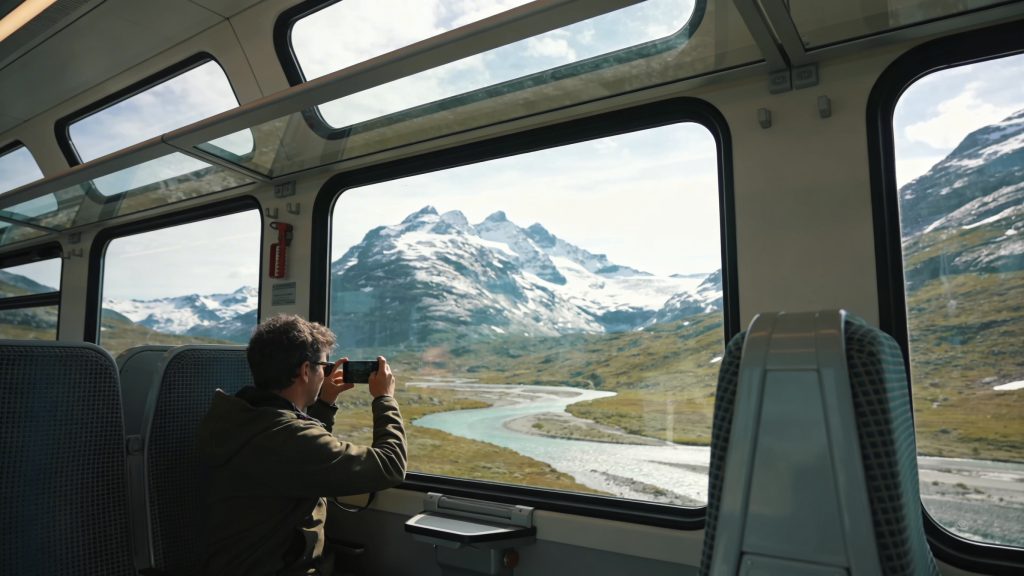
Panoramic trains offer unique photo opportunities with their large windows and spectacular routes, but the best images only come with the right preparation and technique. By choosing your position smartly, matching your gear to the conditions and picking the best moments, you will capture sharper and better-exposed photos. Discover how to take surprisingly sharp and impressive photos from a moving train.
Which train routes offer the most photo opportunities
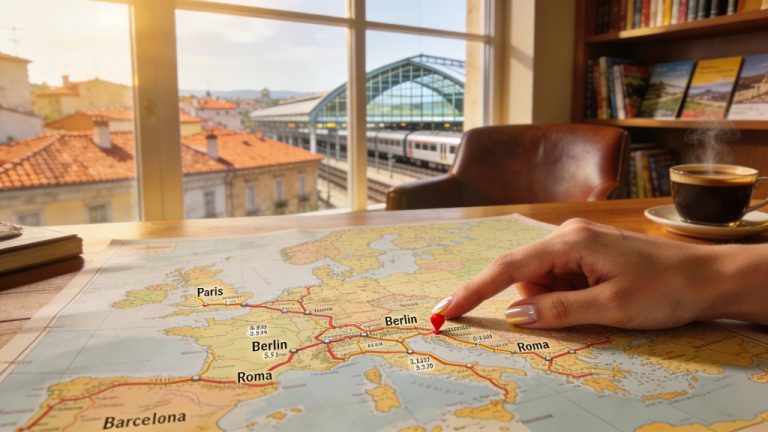
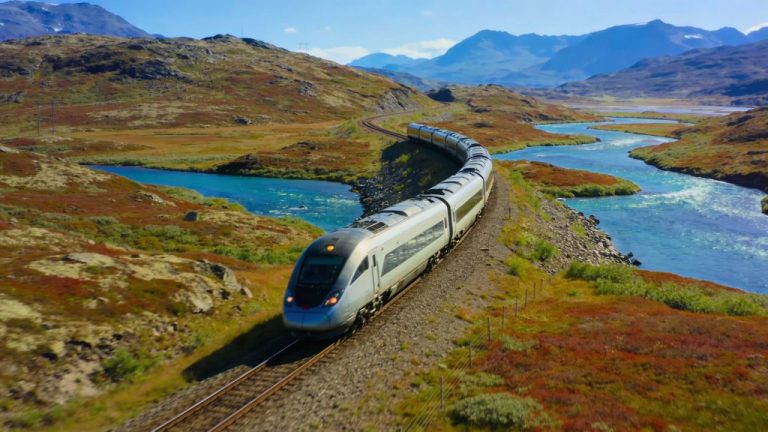
Not every panoramic train is equally suitable for photographers. Routes with dramatic changes of scenery, iconic structures and varying altitudes offer the most variety. The Glacier Express in Switzerland runs from Zermatt to St. Moritz and passes glaciers, Alpine passes and deep gorges. The route follows the Oberalp Pass and Rhine Gorge, with vistas ranging from snow-covered peaks to green valleys.
The Bernina Express is another favourite with photographers. This train crosses UNESCO World Heritage via winding viaducts and passes the turquoise Lago Bianco. The combination of snow-capped peaks, steep slopes and technical ingenuity makes this route visually diverse. The GoldenPass and Gotthard Panorama Express also run past lakes, waterfalls and forests, with seasonal bursts of colour in autumn and winter.
If you want to explore several routes, you will find extensive information on the most photogenic routes in Europe and beyond at scenic rail: panoramic trains and most beautiful rail routes. This way you can plan in advance which stops and moments have the most potential.
‘ Then opt for regular trains with opening windows instead of panoramic carriages. ’
How to photograph sharply from a moving train
Photographing from a moving train requires adjustments to shutter speed and focusing technique. Use a faster shutter speed than you are used to, at least 1/500 second, to avoid motion blur. Many modern cameras have in-body stabilisation, but at higher speeds this is not always sufficient. Increase the ISO value if light is limited, especially in tunnels or on cloudy days.
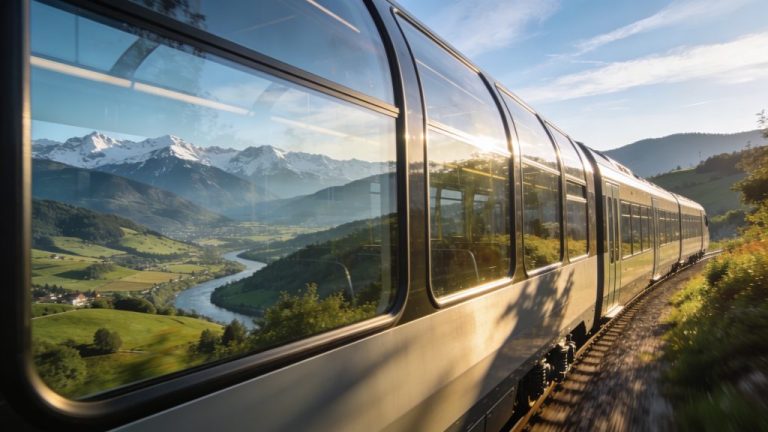
Set your camera to continuous autofocus so the system tracks the passing landscape. Do not point your lens at a right angle to the windows, but at a slight angle to reduce reflections. Hold the lens close to the glass without touching it so vibrations do not transfer directly. For distant subjects such as mountain peaks or valleys, a telephoto lens works better than a wide-angle lens because it allows you to isolate selective parts of the landscape.
Do you want truly sharp images without glass reflections? Then opt for regular trains with opening windows instead of panoramic carriages. Especially in summer, many routes offer this option, allowing you to take photos without obstruction.
Which camera equipment is useful for train journeys
Train journeys call for compact and versatile equipment. A mirrorless or DSLR camera with a 24–200mm zoom lens covers most situations, from wide landscapes to distant details. A telephoto lens with a range starting at 70mm is useful to capture far-off mountain peaks or bridges sharply without being bothered by window reflections.
Take a microfibre cloth with you to clean the windows. Especially in winter, condensation quickly builds up on the inside, which reduces image quality. A polarising filter helps against reflections, but only works effectively if you keep the window clean and rotate the filter correctly. For panoramic photos, a small panoramic head is useful, although you can also achieve good results shooting by hand by creating at least 25 per cent overlap for each frame.
Compact cameras and smartphones are perfectly fine alternatives if you want to travel light. Modern smartphones have powerful digital stabilisation and offer panorama functions that automatically stitch multiple images together. Do make sure you have enough storage space and a full battery, as photos from long journeys will quickly fill your memory.
What are the best photographic moments of the day
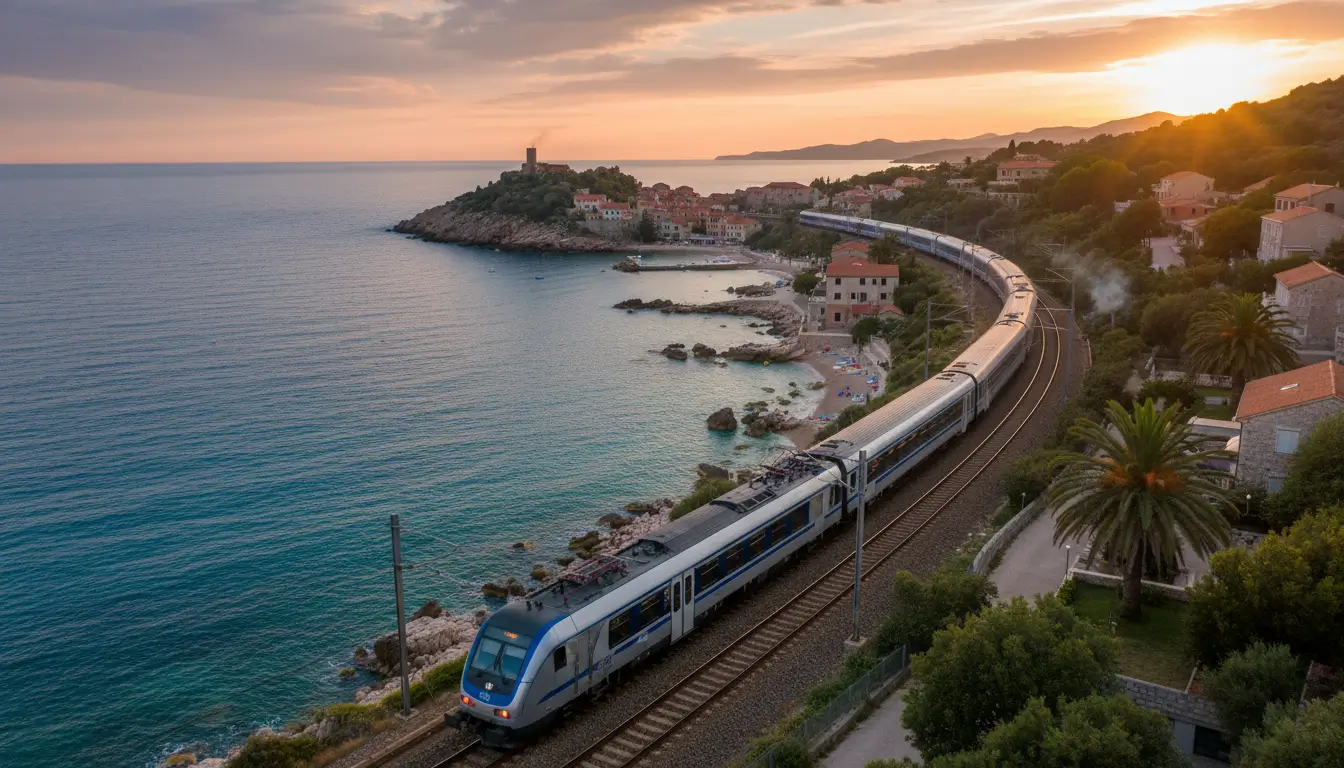
Light determines the character of your photos. The golden hour, just after sunrise or before sunset, creates soft shadows and warm tones. Plan your train journey so that you pass through the most spectacular sections during these times. Check weather apps and sun positions in advance with tools such as PhotoPills (an app that lets you plan sun position and light), so you know when the light falls optimally on mountain faces or glaciers.
Cloud and mist add atmosphere and a sense of mystery to images, but sometimes block direct light. Stay flexible in your approach: make use of short walks during stops to find alternative angles and perspectives. Look up, look back and at your feet, because some compositions only reveal themselves once you leave the train.
Wintry conditions with snow and a low sun create dramatic contrasts. Autumn brings colourful forests and clearer skies. Summer journeys benefit from long days and offer more flexibility in planning.
‘ Flexibility often makes the difference between a missed opportunity and a surprising image. ’
Combining preparation and spontaneity
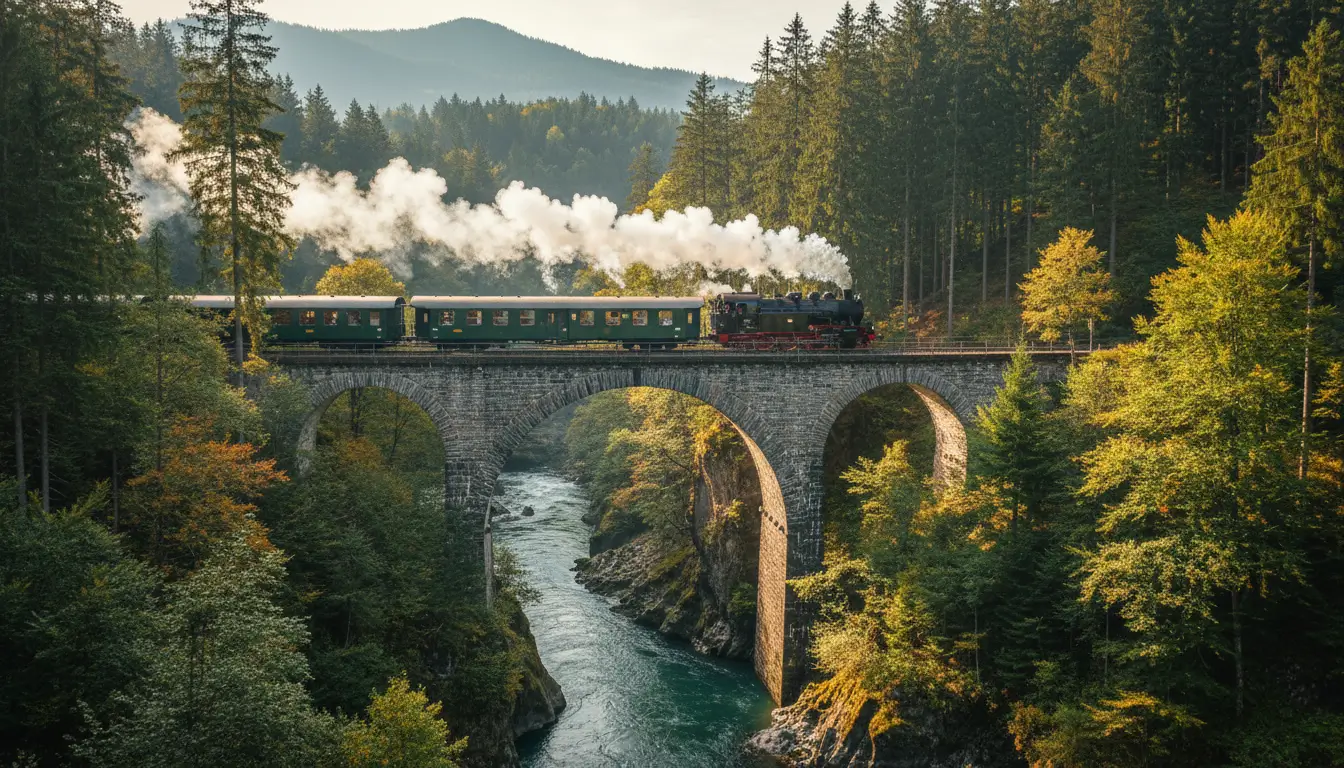
Good preparation increases your chances of strong images. Beforehand, study travel blogs, forums and routes to find out about photo locations and accessibility. Note at which stops you will get off. Also check which viaducts or sections you can photograph from ground level. Some iconic bridges and routes are easier to capture from the station or nearby walking paths than from the train itself.
Still, not everything can be planned. Weather conditions, changing light and unexpected moments call for a spontaneous response. Keep your camera ready and within easy reach so you can react quickly to special situations. Flexibility often makes the difference between a missed opportunity and a surprising image.
Taking and editing panoramic photos
Panoramic photos are a great way to convey the grandeur of train landscapes. Activate the panorama function on your camera or smartphone and ensure constant exposure while panning. Take images with at least 25 per cent overlap so the software can later stitch the photos together seamlessly.
Set the white balance manually to prevent colour shifts between frames. Many cameras offer an automatic stitching function, but you can also use software afterwards for 360-degree images or little-planet effects. Such edits take more time but give a creative twist to your train journey photos.
Sustainable photography on train journeys
Panoramic trains take you to natural highlights without needing a car. This makes travelling by train a sustainable choice for photographers who want to capture landscapes without contributing to traffic congestion or emissions. Throughout the year, routes offer different seasonal scenes, from autumn colours to winter silence.
Combine train journeys with short walks from stops to create images from ground level. Viaducts and bridges gain extra impact when you photograph them from below. This creates a dynamic perspective that the train itself cannot offer.
On the Traveler Tips website you will find much more practical information about train journeys, routes and planning. Discover tips on preparation, equipment and the most beautiful destinations, and get more out of your next trip.
Frequently asked questions
Beforehand, search travel blogs, forums and photography websites about that exact panoramic train route; travellers often share GPS points, place names and rail kilometre markers for their best photo spots. Use Google Maps/Earth to follow the route virtually and mark viewpoints, viaducts, lakes and bends where the train runs slowly. Check Instagram, Flickr or 500px using the name of the route/stations and collect locations from the captions or map view. Combine this with apps such as PhotoPills to see where sun or shadow will fall at the times when your train passes there.
Use a high shutter speed and, if necessary, image stabilisation to limit motion blur. Press your lens or lens hood as close as possible to the window (or use a rubber lens hood) to dampen reflections and vibrations. Switch off flash and bright screens and wear dark clothing to reduce your own reflections in the glass. If possible, look for a seat by a clean window on the side facing the direction of travel, and avoid bogies or pivot points of the train where vibrations are strongest.
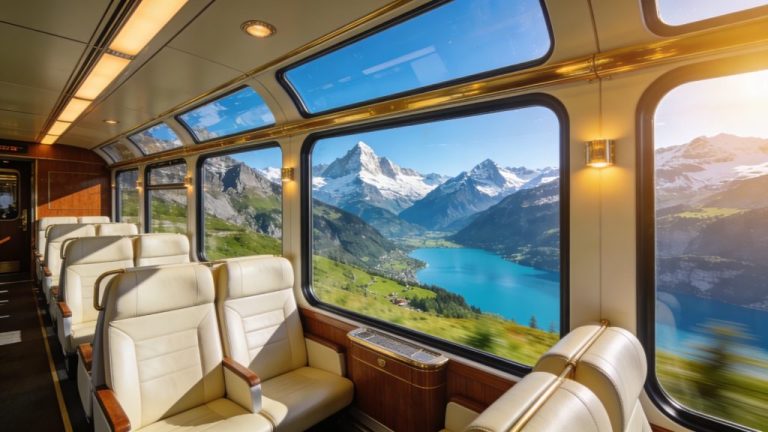
Yes, on many panoramic trains some seats are better positioned for unobstructed views. Seats directly at the window, on the mountain or valley side of the route (depending on the line), usually offer the best photo opportunities. In panoramic carriages with glass roofs, the middle seats are often less ideal because of more reflections and fellow passengers in the frame. Check in advance for each specific train which side in the direction of travel has the best views and reserve a window seat on that side.
A compact system camera or travel zoom camera with a fast zoom lens (e.g. 24–70mm or 24–105mm) is ideal for capturing both the interior and the landscape. Use a polarising filter to reduce reflections in the windows and make colours richer. A small, foldable lens hood or rubber ring to press your lens against the window also helps to combat reflections. Finally, take a microfibre cloth to quickly clean condensation and fingerprints from the glass.
The best time to travel for optimal light conditions is around the golden hour: early in the morning just after sunrise or late in the afternoon towards sunset. At these times the light is softer and warmer and contrasts in the landscape look more pleasing. For fewer crowds on popular panoramic train routes, weekdays outside school holidays and public holidays are most suitable. In addition, the shoulder seasons (spring and autumn) often offer quieter trains while still providing spectacular light and colour contrasts in the landscape.
Do not just focus on the view through the window, but also on details in the carriage: silhouettes of fellow passengers, reflections in the glass, hands holding coffee cups, or the landscape mirrored in a pane. Experiment with viewpoints by walking to the back of the carriage, shooting diagonally along the windows, or quickly stepping outside at stops for a shot of the train in the landscape. Play with light and mood by photographing during the golden hour, in mist or rain, and use reflections deliberately rather than trying to avoid them. Combine wide-angle views of the landscape with close-ups of textures, tickets or luggage to tell the full story and atmosphere of the journey.