NL
NL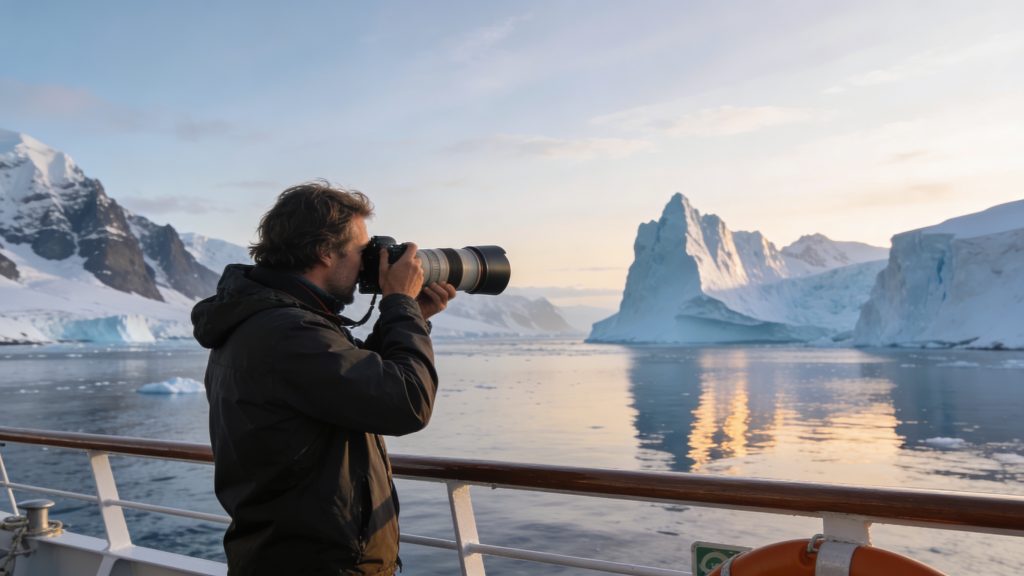
Photography on an expedition cruise calls for thorough preparation and equipment that can withstand extreme conditions. From wildlife shots with a telephoto lens to protection against cold and sea spray: if you protect your camera properly and master the right techniques, you will return home with impressive images of ice landscapes and polar wildlife. Read on for concrete tips that help you get the most out of your nature photography.
Choose the right gear for extreme conditions
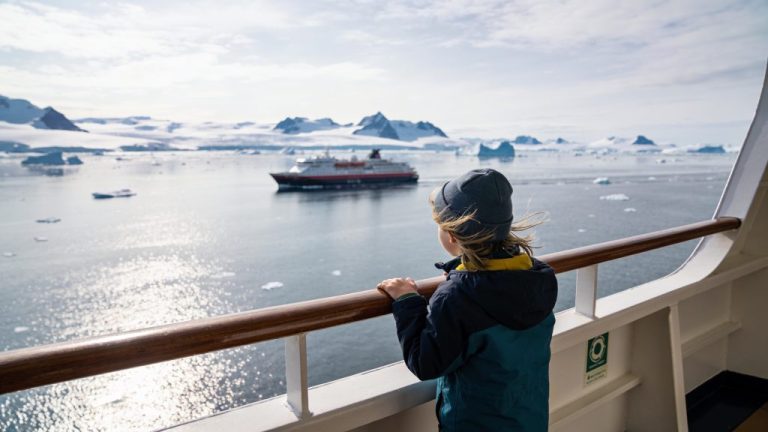
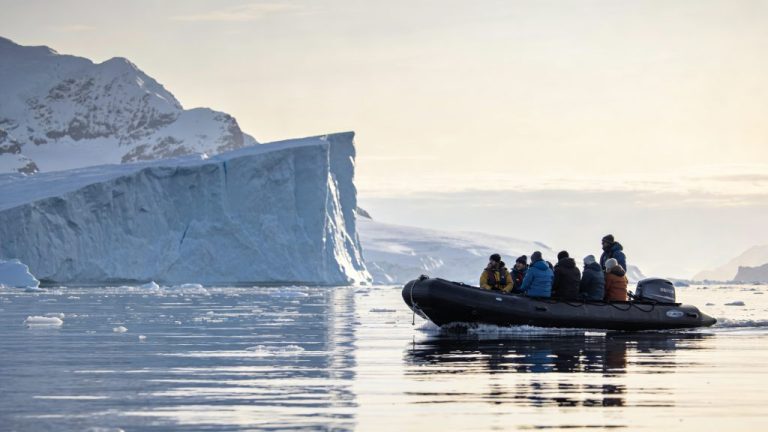
On an expedition cruise you often photograph from zodiacs – small inflatable boats used for excursions – with swell and salt spray all around you. Always take two camera bodies as a backup in case of failure. Use a wide-angle zoom lens on one body for landscapes and on the other a telephoto zoom between 100 and 400 millimetres for animals at a distance.
Prime lenses are lenses with a fixed focal length, such as 300 millimetres. They offer less flexibility. After all, you cannot control how close penguins or seals will come. A zoom lens gives you the freedom to respond quickly to movement and distance. Many expedition cruises offer workshops on board where professional photographers help you choose the right settings for wildlife and landscapes.
A waterproof cover is indispensable. Salt water is disastrous for electronics. Dry your camera and lenses every day after using them in zodiacs. Take plenty of spare batteries and memory cards. Cold temperatures drain batteries quickly. Only change lenses in warm indoor areas to prevent moisture and condensation.
‘ Salt spray and frost are the biggest threats to your camera. ’
Protect your equipment against cold and spray
Salt spray and frost are the biggest threats to your camera. Use a waterproof cover or poncho during zodiac trips. Wipe off salt water immediately with a dry cloth. Store your camera in a protective bag with silica gel to absorb moisture. Allow your equipment to adjust slowly to temperature differences between outside and your cabin.
Condensation occurs when your warm camera is suddenly exposed to cold air, and vice versa. First let your gear cool down in a closed bag before going from indoors to outside. Regularly check whether there is moisture on the lenses or inside the camera body. Anyone sailing on expedition cruises must take into account temperatures well below zero, especially in Antarctica and the polar regions.
A lightweight tripod with ball head is useful for land shots in low light, macro shots and long exposures. Only use the tripod on land or on the beach. On a rolling ship or in zodiacs a tripod is unusable. Many photographers then use burst mode to get sharp images despite movement.
Photographing wildlife with a telephoto lens
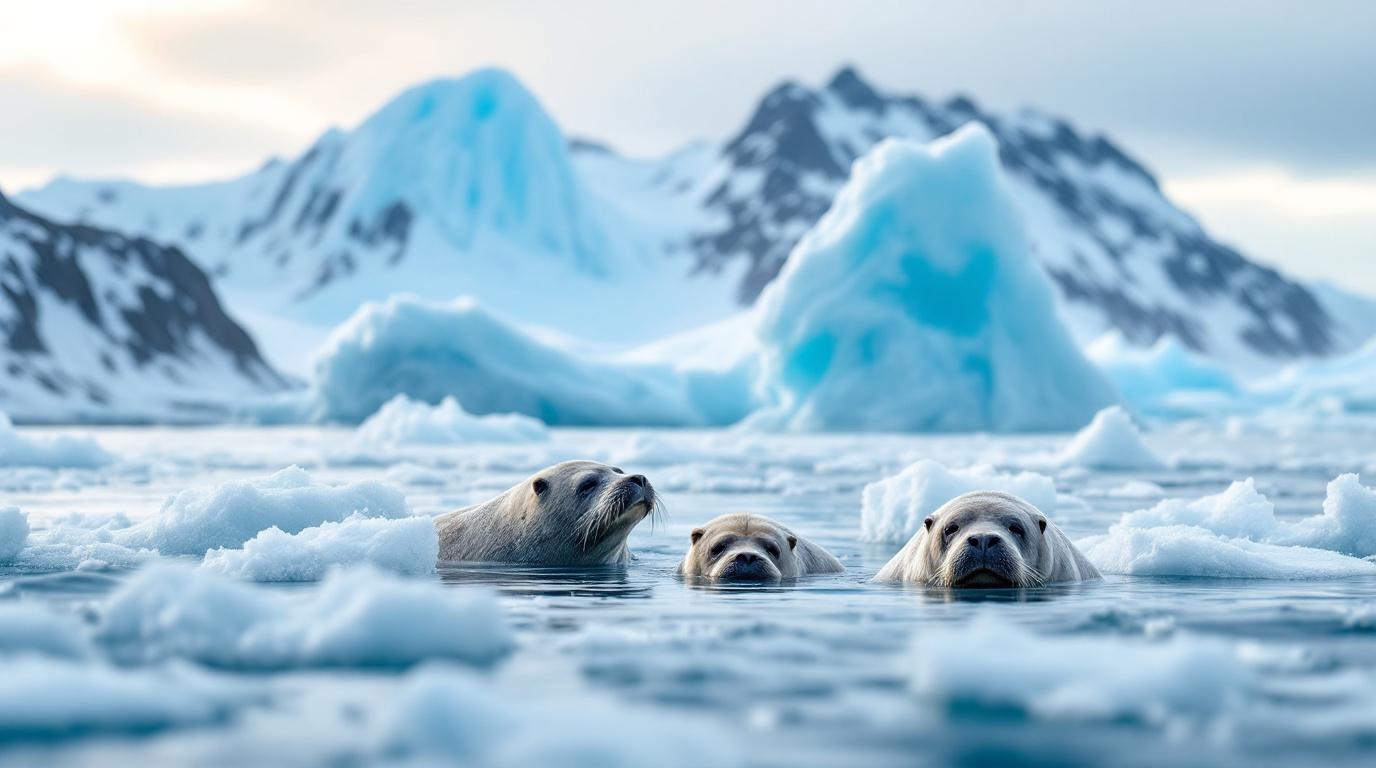
A telephoto zoom between 100 and 400 millimetres is ideal for wildlife photography on expeditions. Wildlife photography means photographing animals in their natural environment. Penguin colonies, seabirds and seals are often at a distance. With a telephoto lens you can capture details without disturbing the animals. Follow the rules of IAATO, the International Association of Antarctica Tour Operators. These international guidelines protect both wildlife and travellers by prescribing mandatory minimum distances to animals.
Photograph animals at eye level for natural portraits. Crouch, kneel or lie on your stomach. That gives an intimate perspective and makes your images more dynamic. Use burst mode for action such as jumping penguins or diving birds. Frame generously in zodiacs because of the swell. You can crop and straighten the image later in post-processing.
Alternate between different lenses and perspectives. Use a wide-angle lens for epic landscapes, a telephoto lens (long-range zoom lens) for close-ups and mid-range lenses for scenes with context. Look for patterns in penguin colonies, ice sculptures and rocks. Ask on the bridge about sunrise and sunset times. The soft light creates long shadows and drama, even when it is cloudy.
Practical photography techniques on board and in zodiacs
In zodiacs – small inflatable boats for excursions – stability is a challenge. Set your camera to a high shutter speed to avoid motion blur. A rule of thumb is 1 divided by your focal length. The focal length is the zoom setting of your lens in millimetres. At 200 millimetres, use at least 1/200 second. Increase your ISO if the light is weak. ISO is the sensitivity of the sensor to light. Modern cameras perform well up to ISO 1600 or higher.
Avoid changing lenses in zodiacs. Dust, moisture and salt can easily get in. Work with two camera bodies fitted with different lenses. That gives you speed and flexibility. Keep your camera ready on a neck strap or in a shoulder bag that you can open quickly. Wildlife moments are often brief and unexpected.
Make use of the photography sessions on board. Many cruises offer free workshops with professional photographers. They help you with camera settings, composition and editing. Small groups with guides who know animal behaviour increase your chances of exceptional shots. Expedition cruises often limit participant numbers to around a hundred people for peace and exclusivity.
‘ A crooked horizon disrupts a landscape image. ’
Vary your composition and exposure
Look for details as well as sweeping vistas. A close-up of ice crystals, moss on rocks or the texture of a penguin feather adds variety to your series. Use the golden hours around sunrise and sunset for warm light. Above the Arctic Circle, these moments are especially long and intense.
Experiment with long exposures at waterfalls, flowing water or moving ice floes. A tripod is essential for this. Close your aperture for greater depth of field in landscapes. For wildlife, open up your aperture to blur the background and make the animal stand out.
Pay attention to the horizon. A crooked horizon disrupts a landscape image. Use the level in your camera or straighten it in post-processing. Play with foreground, midground and background to create depth. An iceberg in the foreground with mountains in the background adds dimension to your photo.
Check your gear before departure
Test your camera and lenses well before departure. Check that everything is working properly. Clean sensors and lenses. Take spare parts such as extra batteries, memory cards, lens caps and cleaning cloths. A blower to remove dust is useful. Make sure you have enough storage space for RAW files. RAW files are unedited photo files that offer more latitude for editing. They give you more options in post-processing.
Fully charge all batteries before departure. On board you can charge them in your cabin. On some ships sockets are limited. Take an adapter plug that fits the sockets in the region. Many expedition cruises depart from South America or Europe, each with its own plug types.
Make a checklist of your gear. Pack everything the day before departure and tick off the list. Do not forget lens cleaning cloths, a memory card reader and chargers. A light rucksack or shoulder bag protects your equipment during landings. Choose a bag that is splash-proof and easy to carry.
Prepare for unique light conditions
Polar regions and remote islands have unique light conditions. Think of high contrast, long twilight and strong reflection from snow and ice. In summer you can count on long days with plenty of daylight. In winter, the light fades more quickly and the northern lights may appear. Adjust your camera settings to these conditions. Use a high ISO and a wide aperture for the northern lights. Experiment with exposure times between 5 and 30 seconds.
Cloud cover creates diffuse light without harsh shadows. That is ideal for wildlife portraits and detail shots. Bright sunlight creates contrast and drama, but requires careful exposure. Meter for your subject, not for the bright snow or sea. Snow and ice reflect a lot of light and can throw off your metering.
Use exposure compensation to keep snow white. Cameras often underexpose when there is a lot of white in the frame. Compensate with +1 or +2 stops. Check your histogram to avoid overexposure. Eyes are especially important with wildlife. Make sure the eyes are sharp and well exposed.
‘ Explore the website and make your next trip even better. ’
Discover more about travel and photography
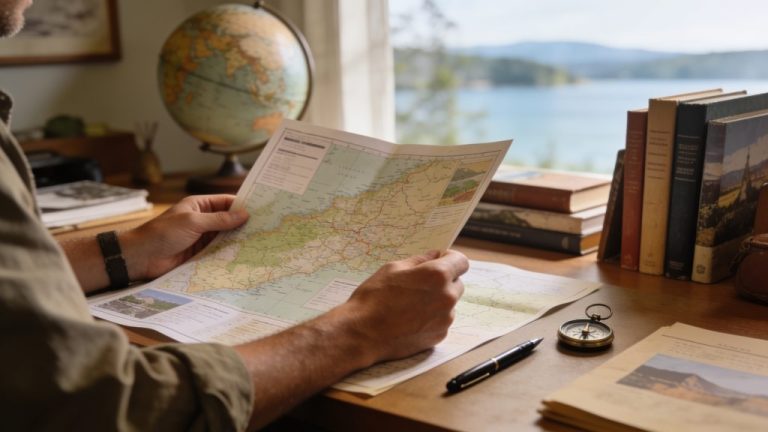
On the Traveler Tips website you will find much more information about expedition cruises, travel preparation and practical tips for adventurous destinations. Plan your route, compare gear or get inspired for new trips. Explore the website and make your next journey even better.
Frequently asked questions
Essential and practical gear for an expedition cruise consists of two camera bodies (as backup) fitted with a wide-angle zoom for landscapes and a telephoto zoom (e.g. 100–400 mm) for wildlife, because you cannot predict distances. Choose a lightweight tripod with ball head for use on land, and leave it on board or in the zodiac in heavy swell. Use weather- and splashproof protection for camera and lenses, especially against salt spray, rain and snow, and dry your equipment daily. Take plenty of spare batteries and memory cards, because cold drastically shortens battery life and you would prefer not to change lenses in the zodiac.
Prepare yourself optimally by taking two cameras (wide-angle and telephoto zoom), plenty of batteries and memory cards, and good weather and splash protection for your equipment, so you can keep shooting in rain, snow and salt spray. Practise at home with shutter-priority mode and burst mode to capture movement (jumping animals, rolling zodiacs) sharply while framing a little wider so you can straighten later. Plan your photo moments around sunrise and sunset and consciously alternate between wide-angle landscapes, close-ups and scenes with context to capture the full experience. Take advantage of any photo workshops on board and actively observe the light and animal behaviour so you can react quickly to rapidly changing light and unexpected action.
Use a waterproof (preferably saltwater-resistant) cover or drybag to protect your camera in the zodiac from splashing water and spray, and carefully dry your equipment after every trip. Have lenses mounted on the body before the excursion and avoid changing lenses in the zodiac to keep moisture, salt and dust out. Protect against cold by carrying spare batteries warm close to your body and letting your equipment acclimatise gradually when moving between warm and cold to limit condensation. Use a padded camera bag or inserts to absorb shocks during landings and when getting in and out of the zodiac.
Limit your gear to one body with a versatile zoom and, if desired, a second body with a telephoto lens, so you rarely need to change lenses and can keep your focus on the surroundings. Deliberately plan a few “camera-free” moments each day in which you just look, listen and take in the environment. Use simple, fixed settings (for example aperture priority and auto ISO) so you can react quickly without constantly diving into menus. For each landing or outing, choose one main goal (wildlife, landscape or details) to avoid decision fatigue and the feeling of being overloaded.
Yes, there are clear rules and etiquette: always follow the guidelines of the cruise line and (in Antarctica) IAATO, such as keeping a minimum distance from animals and not blocking their routes. Do not use flash with wildlife, do not make noise to “wake” animals and never chase them for a better photo. Stay on designated paths or within the zones indicated by guides, and respect other guests by not constantly standing in front of their view. If in doubt, always ask the expedition guide what is appropriate at that particular location.