NL
NL
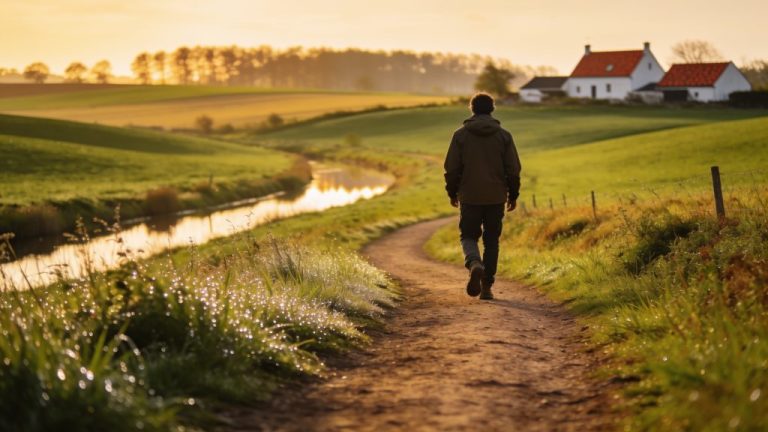
A well-prepared rucksack determines the success of your hiking holiday. Whether it’s a short hike of a few hours through the Ardennes or a multi-day trek in the mountains, the right preparation of your hiking rucksack and gear ensures comfort, safety and efficiency on the way. With the right items and a thoughtful packing technique, you walk lighter, more balanced and better prepared. Discover which essential items belong in your rucksack and how to pack smartly for every season.
Which rucksack size suits your hike
The size of your rucksack determines how much you take with you and has a direct impact on your hiking comfort. Choose a 20 to 30 litre rucksack for day hikes. This size gives you enough space for water, lunch, an extra clothing layer and your navigation items without unnecessary bulk. For multi-day hiking holidays where you carry your own camping gear, you need more space and should opt for a rucksack between 35 and 65 litres.
A rucksack that doesn’t match your body shape restricts your freedom of movement and causes painful pressure points. Adjust the hip belt low on your hips so the weight rests there instead of on your shoulders. Don’t pull the shoulder straps too tight and position the chest strap at breathing height for optimal balance. Always test your loaded rucksack on a short trial walk before departure to discover any pressure points early.
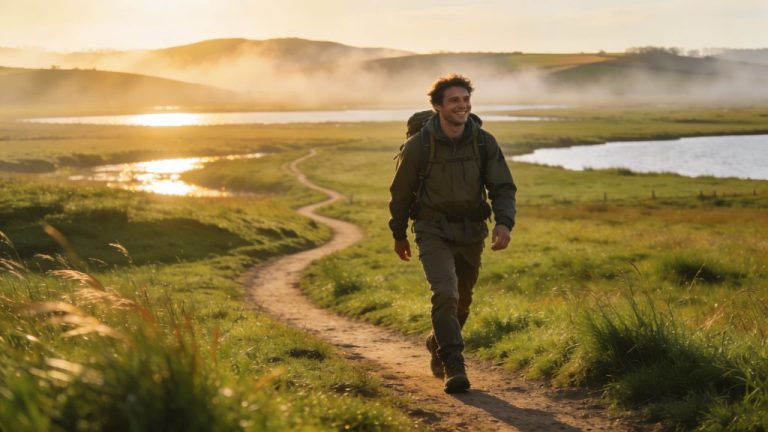
Essential items for a day hike
A short hike of a few hours up to a full day calls for a light, well-organised rucksack with only the essentials. Keep the total weight under 6 kilograms so you can walk more freely and enjoy the route more. The following items are must-haves:
- Water and food: 1 to 2 litres of water depending on the weather conditions, lunch, energy bars and easy snacks that give you a quick energy boost
- Clothing layers: A fleece jacket, windproof bodywarmer, breathable rain jacket, functional shirt, hat and neck gaiter that you can use as a scarf or headband
- Protection: High-factor sun cream, sunglasses, cap and a small first aid kit with blister plasters and painkillers
- Navigation and emergency gear: Map, GPS app on your phone or hiking GPS, whistle, torch or the torch function on your phone, power bank to keep your phone charged
- Hygiene: Toilet paper and hand gel to clean your hands
This basic kit fits comfortably in a 20 to 30 litre rucksack. Adjust the amount of water and clothing based on the weather forecast and the duration of your hike. In hot weather, take more water; in changeable weather, add an extra warmth layer.
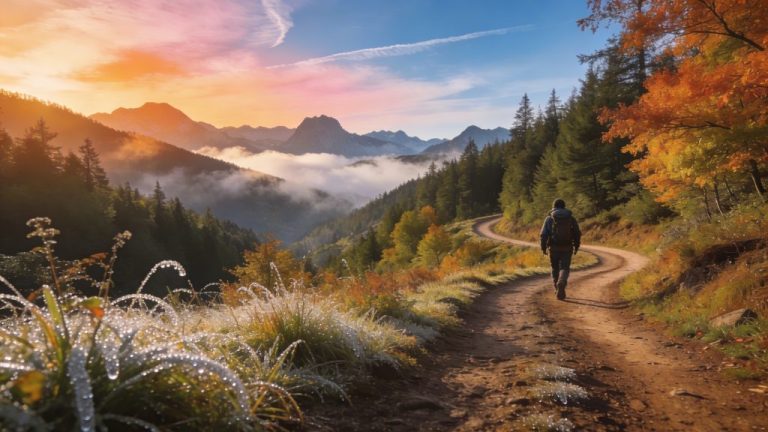
What you additionally need for multi-day treks
For multi-day hikes where you spend the night in nature, you take camping and emergency gear such as a small pocket knife, repair kit, whistle and possibly an extra emergency blanket. This expansion calls for a larger rucksack and careful planning to keep the weight manageable. You add the following items to your basic packing list:
- Tent, bivvy bag or hammock for overnight stays, preferably light and compact
- Sleeping bag and sleeping mat packed in compression sacks to save space
- Cooking gear, fuel, water filter or purification tablets for drinking water on the way
- Food for all days plus an emergency reserve for unforeseen circumstances
- Extra socks, underwear and a spare functional shirt
- Toiletries and a repair kit with needle, thread and duct tape
- Head torch to keep your hands free in the dark hours
Make sure you have enough food and water for the entire route. Check in advance whether there are opportunities along the way to top up supplies or refill water. Plan your stages so that you don’t have to trek unnecessarily heavily laden through challenging terrain.
How to pack smartly for balance and accessibility
The way you pack your rucksack directly affects your balance and walking posture. A well-balanced rucksack promotes an upright posture and less fatigue. Distribute the weight as follows:
Against your back in the main compartment: Place your heaviest items such as water, food and your stove or tent at shoulder blade height against your back. This keeps the centre of gravity close to your body and prevents you being pulled backwards.
At the bottom of the rucksack: Put light items that you rarely use, such as your sleeping bag and spare clothing, at the bottom. These items fill the space without affecting the centre of gravity.
On top and in the lid pocket: Frequently used light items such as your first aid kit, map, sunglasses, snacks and pocket knife go on top for easy access without having to unpack the entire rucksack.
In the side pockets: Your water bottle, quickly accessible snacks, toilet paper and rain gear belong in the side pockets so you can grab them on the go without stopping.
Roll clothing instead of folding it for maximum compactness. Use packing cubes or waterproof bags to group items by category. Give bags different colours for quick recognition, such as red for first aid and blue for electronics. Protect fragile or leak-prone items by wrapping them in soft clothing or placing them in separate waterproof bags.
‘ An unexpected change in the weather can be dangerous if you’re not prepared with the right clothing and protection. ’
Seasonal adjustments to your packing list
Each season requires specific adjustments to your gear and clothing. In spring and autumn, take an extra warmth layer such as a thin down jacket or an additional fleece. Rain gear is essential in these seasons because of changeable weather. Choose breathable, waterproof materials that reduce condensation.
During summer hikes, the focus is on protection from the sun and overheating. Take extra water, a light cap with neck protection and high-factor sun cream. A light wind jacket is usually enough as an outer layer. In winter, add thermal base layers, gloves, a warm hat and, if necessary, traction chains (separate rubber soles with spikes that you pull over your shoes) or crampons for icy paths.
Always check the weather forecast before you leave and adjust your gear accordingly. An unexpected change in the weather can be dangerous if you’re not prepared with the right clothing and protection.
Budget-friendly options and multifunctional items
Hiking gear doesn’t have to be expensive to work well. Beginner hikers can start with affordable basic items and expand their kit as they gain more experience. Buy a solid rucksack with good adjustment options as your first investment, because comfort is crucial here.
Choose multifunctional items to save weight and money. A neck gaiter can serve as scarf, headband or face protection. A lightweight rain poncho can also be used as a groundsheet or emergency shelter. With the right apps and a good power bank, your phone can replace separate devices such as a camera, GPS and torch.
Hire expensive items such as tents or sleeping bags for your first multi-day trips to find out what suits you before you invest. Second-hand outdoor shops and online platforms often offer high-quality gear at a fraction of the new price.
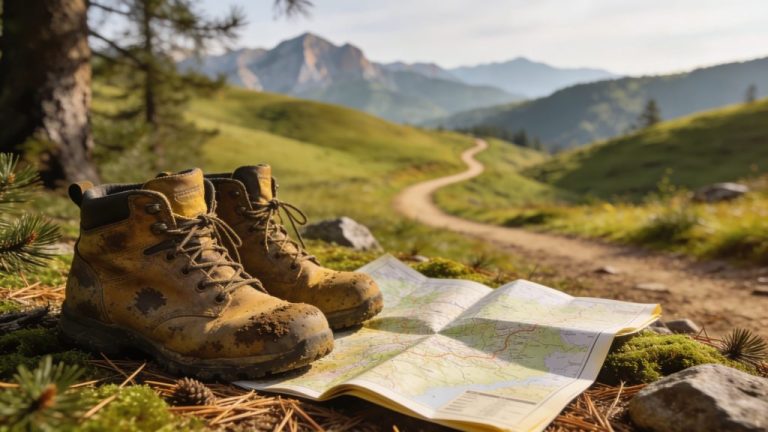
Waterproof boots and foot care
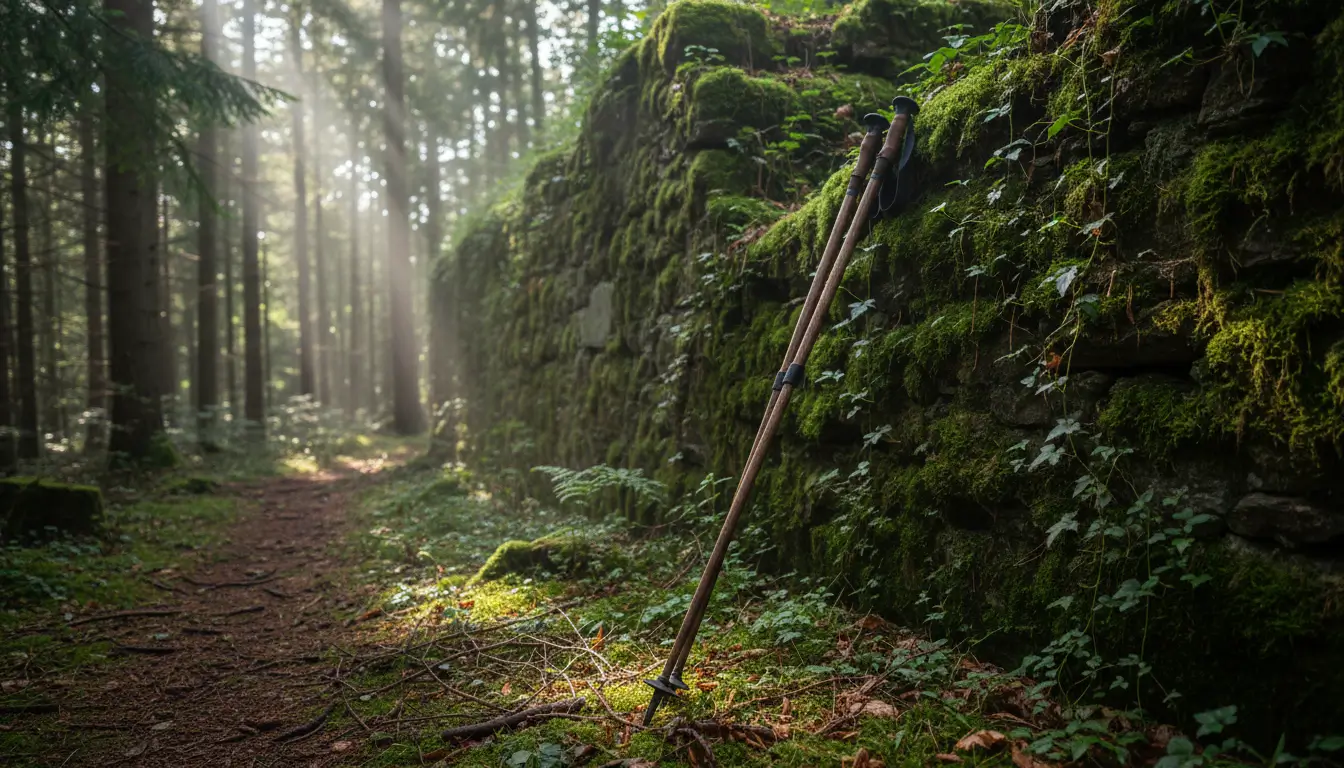
Your hiking boots largely determine the success of your trip. For wet trails and muddy conditions, waterproof hiking boots with a good Gore-Tex lining (a waterproof, breathable membrane) are indispensable. Choose boots with sturdy lug soles for grip on slippery terrain and sufficient ankle support when hiking with a heavy load.
Always break in your boots properly before a multi-day trip by wearing them on shorter walks. New boots cause blisters and pressure points that can ruin a long hike. Take blister plasters as a preventive measure and change socks during long hikes to reduce moisture and friction.
Good hiking socks made of merino wool or synthetic material prevent blisters better than cotton socks. They wick away moisture and remain comfortable even when wet. Invest in several pairs so you can wear dry socks every day on multi-day hikes.
‘ A power bank is essential to keep your phone charged during long hiking days or multi-day treks. ’
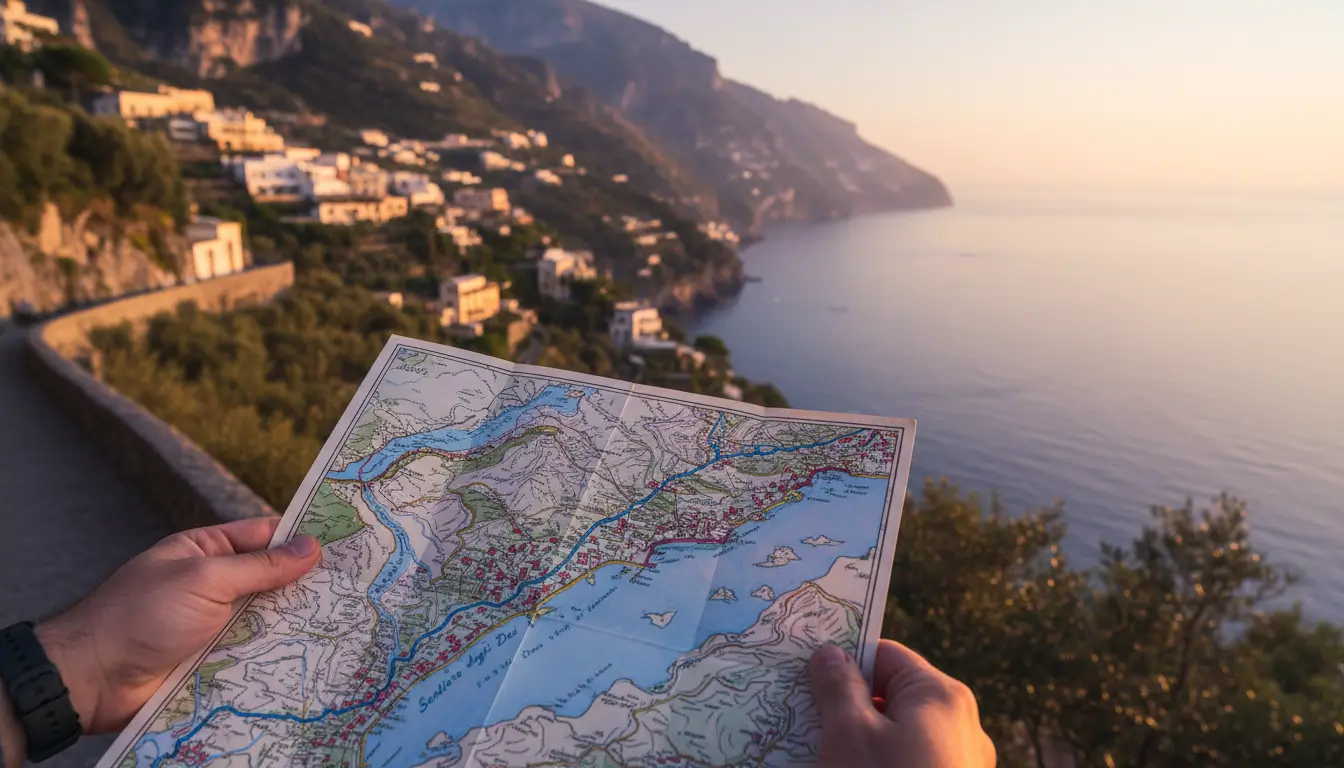
Navigation apps and digital tools
Modern navigation apps make hiking more accessible and safer. Apps such as Komoot (route planning app), Maps.me (offline maps app) and ViewRanger (hiking navigation app) offer detailed hiking maps that you can download for offline use. You don’t need reception to follow your route and determine your position. Mark important points such as water sources, rest areas and emergency exits in the app beforehand.
A power bank is essential to keep your phone charged during long hiking days or multi-day treks. Choose a model with at least 10,000 mAh capacity for multiple charges. Put your phone in power-saving mode and switch off unnecessary functions to preserve the battery.
Paper maps remain a reliable back-up in case your phone dies or gets damaged. For remote areas, always take a waterproof map and learn the basics of map navigation and compass use.
Where to find more hiking tips and routes
The right preparation determines whether your hike is comfortable and safe. Start with a short trip to test your basic kit. Gradually expand your packing list to multi-day hikes once you know what works for you. After every hike, note what you missed or didn’t need so your next trip goes even better.
On Traveler Tips you’ll find extensive guides on hiking routes in Europe, travelling by car or train, budget-friendly travel tips and practical preparation. Browse our overviews of the most beautiful nature areas, choose your next destination and plan your trip step by step with reliable information.
Frequently asked questions
Choose a capacity of around 30–40 litres: large enough for a short multi-day trek, but still compact for day trips. Pay attention to a good fit for your back length, with a sturdy hip belt, adjustable shoulder straps and chest strap. Go for a light but durable model with back ventilation and enough pockets for organisation. Test the rucksack fully packed on a short walk beforehand to check comfort and how it carries.
Indispensable items are enough water and snacks, appropriate clothing layers (including rain and warmth layers) and basic sun and weather protection such as sunglasses, cap and sun cream. For safety, a small first aid kit, torch/head torch, whistle and reliable navigation (map + GPS/phone with power bank) should always be in your rucksack. For rougher or more remote destinations, add water purification, emergency shelter (bivvy bag or light tent) and extra warm clothing. Finally, pack hygiene items (toilet paper, sanitising gel) and, if needed, a small repair kit.
Use a packing list with categories (water/food, clothing layers, protection, navigation/emergency, hygiene) and tick everything off so you don’t forget anything important. Place heavy items (water, food, stove/tent) centrally against your back at shoulder height, light and rarely used items at the bottom, and often used light items at the top and in the side pockets. Roll clothing tightly, use compression sacks or packing cubes and leave duplicate or non-essential items at home to save weight. Test your packed rucksack on a short walk and afterwards remove everything you didn’t use that doesn’t fall under “emergency/safety”.
Choose layered clothing that is multifunctional, such as a fleece that can serve both as a mid-layer and as a jacket, and a windproof, breathable rain jacket that also works as an outer layer in cold weather. Use a neck gaiter or buff that can be used as a hat, scarf, headband and face protector. A bodywarmer or light down jacket offers extra warmth under a coat but can also be worn on its own in milder weather. Limit yourself to a few functional shirts and socks made of quick-drying material that you can wash and wear again quickly.