NL
NL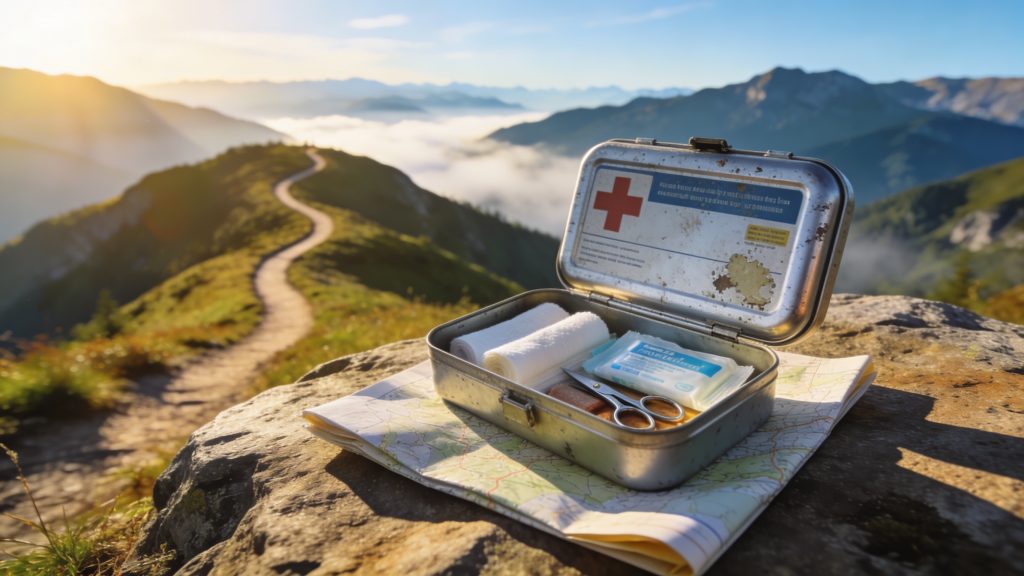
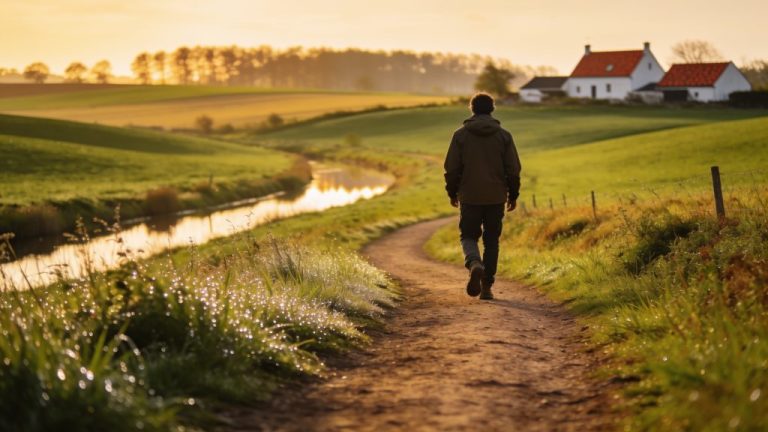
On long hiking trips, a small blister can grow into a painful interruption, and a wrong turn in remote terrain into a serious situation. Safety and first aid on long hikes therefore call for focused preparation: a well-stocked first aid kit, preventive measures and basic first aid knowledge make the difference between a successful hike and being forced to stop. Discover how to plan your walk safely and deal with blisters, getting lost and changing weather conditions.
Long hiking trips take you to places where professional help is far away. You might be walking a multi-day hut-to-hut trail or exploring the Ardennes solo: self-reliance is key. On hiking holidays you deliberately make time for relaxation and connecting with nature, while also taking into account risks that require special attention. A well-prepared hiker minimises those risks by combining the right gear, knowledge and preventive measures.
What to pack in your first aid kit for multi-day hikes
A first aid kit for a long hike is different from a standard first aid box. You are walking for several days in a row, often without access to shops or medical facilities. So take double quantities of basic items and tailor your kit to the terrain, season and group composition.
Basic dressings and care
- Plasters in different sizes for small cuts and grazes
- Plenty of blister plasters, because blisters usually appear after the first day
- Sports tape to strap vulnerable areas as a preventive measure
- Disinfectant spray or wipes for cleaning wounds
- Tick remover for quick removal of ticks
- Scissors or multitool to cut tape and bandages
Medication and protection
- Painkillers such as paracetamol or ibuprofen
- Medication that group members need, plus a note of any allergies
- Lip balm to protect against dryness and wind
- Insect repellent for areas with mosquitoes or ticks
- High SPF sun cream, including in the mountains where UV radiation is stronger
Emergency equipment
- Emergency blanket to retain warmth in case of hypothermia
- Emergency whistle to give audible signals in an emergency
- Signal mirror to alert the emergency services
- Multitool or pocket knife for various small jobs on the way
- Emergency numbers and important documents in a waterproof pouch
For mountainous terrain or true wilderness, add a satellite phone for areas with no mobile network. Test your equipment at home and check that all medicines are still within their expiry date before departure.
‘ Prevention works better than treatment. ’
Preventing and treating blisters while hiking
Blisters are the most common complaint on long hikes. They are caused by friction between skin, sock and shoe, especially in moist or warm conditions. Prevention works better than treatment.
Change your socks regularly, at least once a day or after a break. Wear hiking socks without seams and make sure they fit well without wrinkling. Use preventive tape or hiking wool on areas that are prone to blistering, such as heels, toes and the ball of your foot. As soon as you feel friction, stop immediately and put on a blister plaster. Carrying on walking will quickly make things worse.
Already have a blister? Only puncture it if it is large and makes walking difficult. Disinfect a needle, pierce the blister at the side, let the fluid drain and cover the blister with a special blister plaster that relieves pressure. Leave the skin in place as a protective layer. Check the blister daily for signs of infection such as redness, warmth or pus.
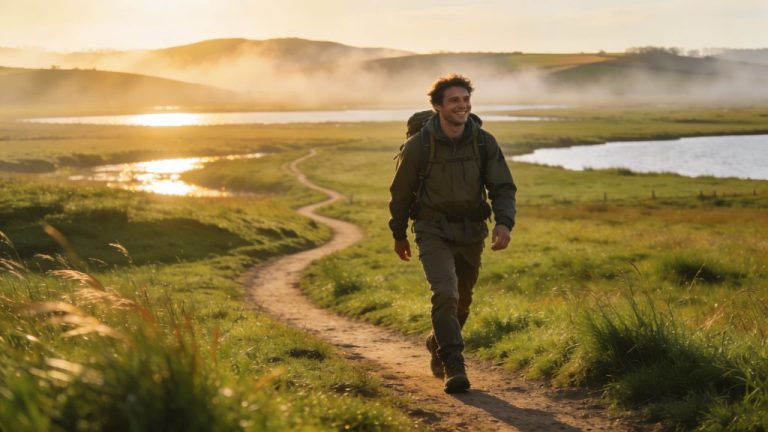
Safety tips for solo hiking
Solo hiking calls for extra alertness and preparation. There is no one nearby if you fall, get injured or take a wrong turn. Share your route in advance with a contact person at home, including planned arrival times and emergency contacts. Agree when you will check in and what your contact person should do if you do not get in touch.
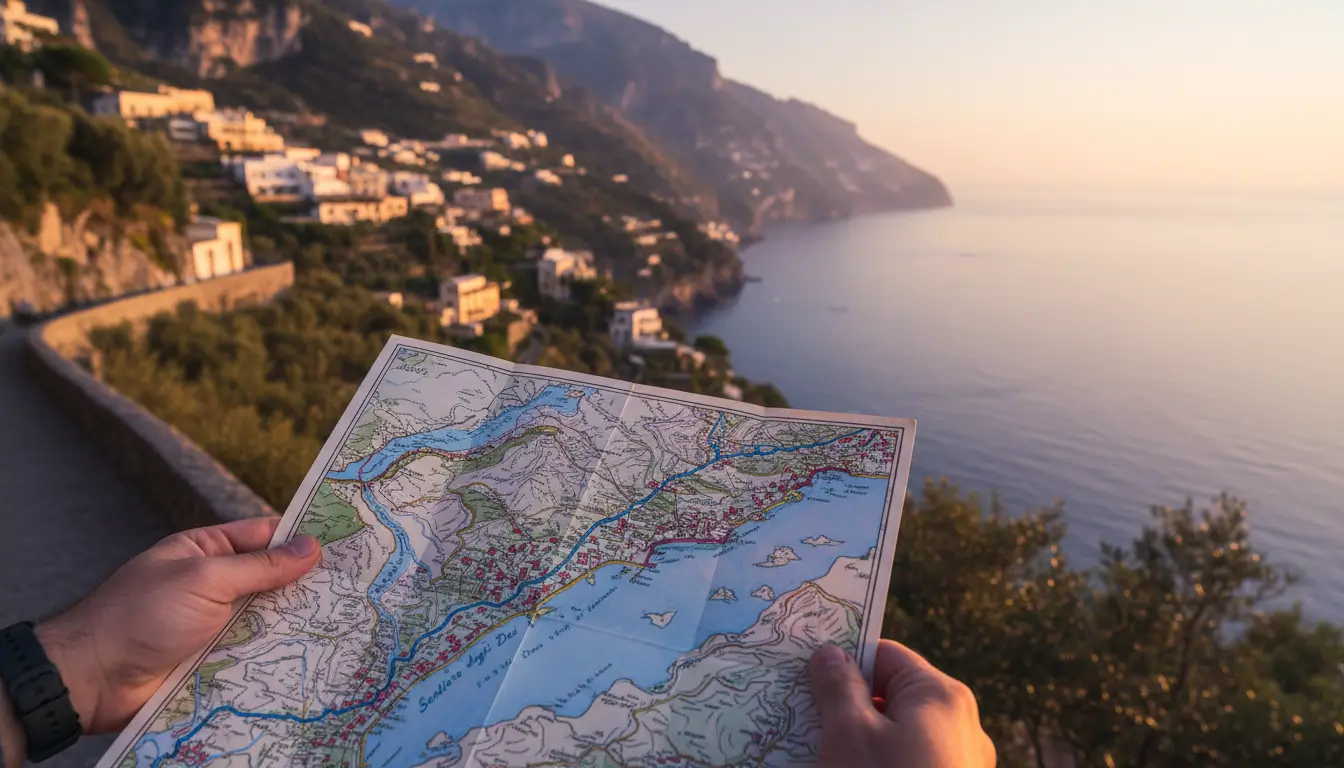
Always take a map, compass and GPS, even if you think you know the route well. Phone batteries run out and reception is often poor in mountain areas or forests. Practise navigation beforehand and learn how to determine your position without digital tools. Download offline maps to your phone as a backup.
Listen to your body and turn back if you are in doubt. Solo hikers do not have a second opinion and must make sensible decisions about whether to continue or stop. Take a power bank to charge your phone and keep it in a waterproof case. Choose waymarked routes and avoid unknown terrain in bad weather or poor visibility.
Dealing with weather conditions and temperatures
Changes in the weather directly affect your safety. Rain, wind, cold and heat all require different clothing and measures. The layering system works best: a moisture-wicking base layer, an insulating midlayer and a windproof and waterproof outer layer. Adjust your clothing while hiking by taking layers off or adding them.
Hypothermia occurs when your body temperature drops due to cold, wind or wet clothing. Recognise the signs early: shivering, fatigue, confusion and reduced coordination. Put on dry clothing immediately, seek shelter and drink something warm. Always keep an extra set of dry clothes in a waterproof bag in your rucksack.
Overheating and dehydration are a particular risk in hot weather and during prolonged exertion. Drink small sips of water continuously, at least 2 to 3 litres a day depending on temperature and effort. A hydration bladder with a hose makes regular drinking easier. Watch out for signs such as dizziness, headache, dark urine and reduced sweating. Take regular breaks in the shade and wear light, breathable clothing with a hat or cap.
‘ Do not wander around aimlessly; it makes the search more difficult. ’
Emergency signals and what to do if you get lost
Even experienced hikers can get lost. Stop immediately as soon as you are unsure about the route. Continuing without certainty only takes you further away from the right path. Stay calm, check your last known position on the map and try to identify distinctive features in the landscape.
Use the international distress signal for visual or audible calls for help: six signals per minute, followed by one minute of silence. Repeat this pattern. For a whistle, this means blowing six times, then one minute of silence. With a torch, give six flashes of light, then rest. The emergency services respond with three signals per minute.
Do you have mobile reception? Call 112 and describe your location as accurately as possible using landmarks, route names and coordinates if you have them. Stay in one place and make yourself visible with brightly coloured clothing or an emergency blanket. Do not wander around aimlessly; it makes the search more difficult.
Training and courses for safe hiking
Basic first aid knowledge gives you confidence and enables you to respond quickly when incidents occur. A Red Cross first aid course provides the basics for occasional hikers and covers wound care, resuscitation and the recovery position. For longer trips in mountainous terrain or wilderness, opt for a Wilderness First Aid course: a practical first aid training course designed specifically for situations where professional help is hours or even days away. This two-day course focuses on self-reliance in remote areas.
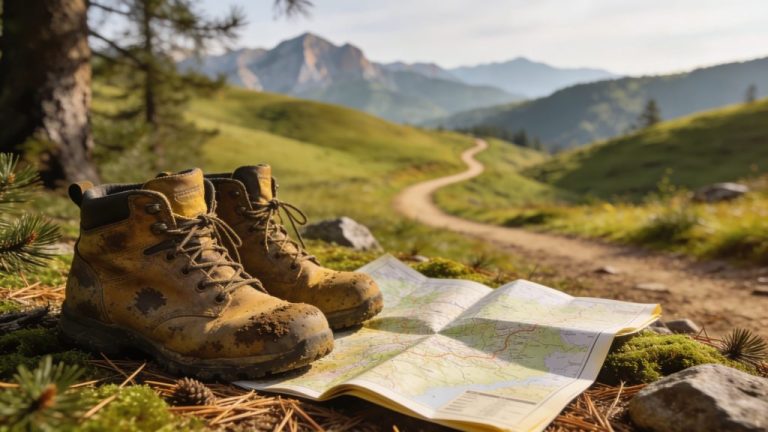
Practise with your gear beforehand by doing shorter multi-day hikes. Test your shoes, rucksack, clothing and navigation tools in realistic conditions. Hike with a full pack to build your fitness and to identify any problems with pressure points or weight distribution at an early stage. Note what works well and what you need to adjust for your big trip.
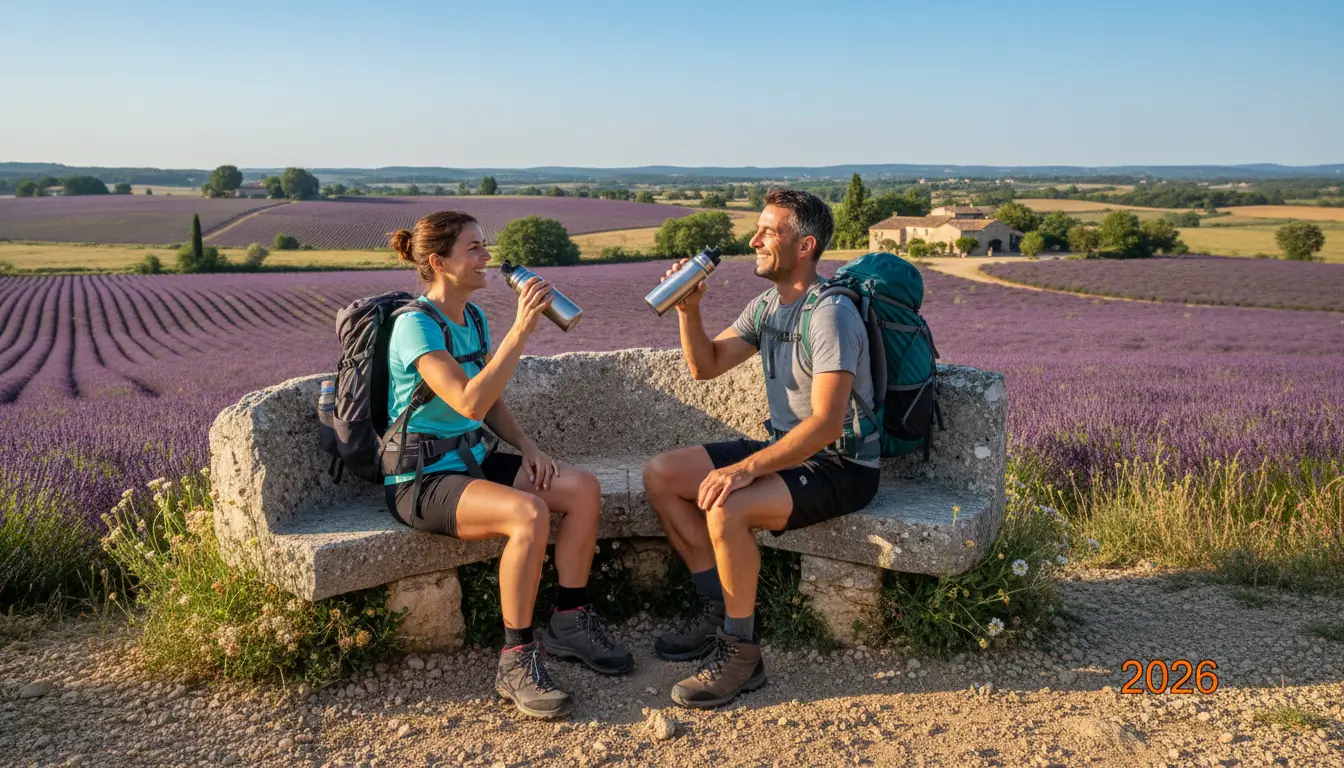
Points of attention for groups and older hikers
Group hikes offer social support and shared responsibility, but they also require coordination. Walk at a pace that everyone can manage and plan extra breaks for less experienced or older hikers. Use walking poles to reduce the strain on joints and improve balance, especially when descending or on uneven terrain.
Write down the medication and allergies of all participants and keep this information in the first aid kit. Older hikers have a reduced sense of thirst, so encourage them to drink regularly even if they do not feel thirsty. Agree in advance who is responsible for navigation, first aid and group dynamics.
Children in the group? Take into account shorter walking distances, more frequent eating and drinking, and extra protection against sun and cold. Teach children basic safety rules such as staying with the group, whistle signals and what to do when they see a waymarker on the route.
Commandments for a safe hiking trip
Preparation largely determines the success of your hike. Use this checklist to make sure you do not forget anything:
- Check your vaccinations, especially for foreign destinations
- Consult the weather forecast daily and adjust your plans in extreme conditions
- Match the route to the level and fitness of all participants
- Inform a contact person about your route, schedule and expected arrival times
- Keep your first aid kit up to date and check expiry dates
- Match the terrain to your experience and skip technical routes if your skills are insufficient
- Always take extra water and high-energy snacks on top of your planned amount
- Test all aids such as GPS, compass and torch before departure
- Listen to signs of fatigue, pain or discomfort and take timely rest
- Turn back if you are in doubt about safety, weather or your condition
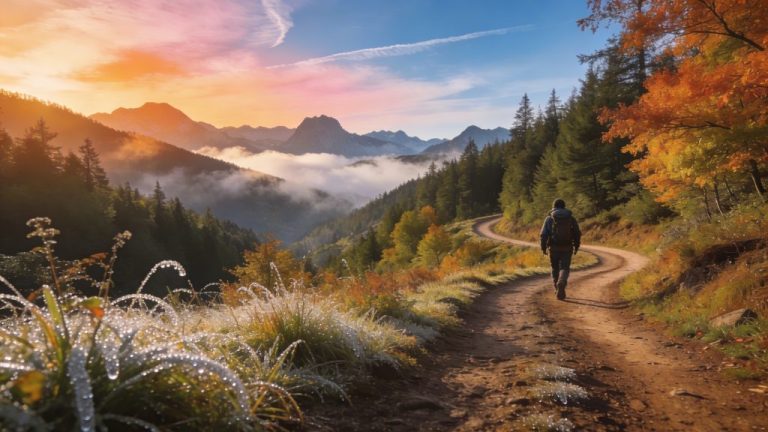
Adjustments for different types of terrain
Mountains require different preparation to flat paths or forests. In mountainous areas, take walking poles for stability, warm layers for rapid temperature changes and extra protection against UV radiation. Altitude sickness can occur above 2,500 metres. Acclimatise gradually and descend if you have symptoms such as headache, nausea and dizziness.
Forests and nature reserves bring risks such as ticks, stinging nettles and unexpected obstacles. Wear long trousers and sleeves in areas with many ticks and check yourself daily. Learn to recognise tick bites and remove ticks within 24 hours with a tick remover to reduce the risk of Lyme disease.
Flat long-distance routes may seem safer but require attention to blisters caused by prolonged strain, road crossings and limited shelter in bad weather. Choose well broken-in shoes and take sun protection even on cloudy days.
On the Traveler Tips website you will find more practical information about route planning, choosing gear and destinations for hiking holidays. Discover how to prepare even better for your next trip and explore the options for your next hiking adventure.
Frequently asked questions
Key steps include creating a realistic route and weather plan, tailored to the terrain, your own fitness and the group’s level, and sharing your route and return time with a contact person. Make sure you have appropriate gear (broken-in shoes, layered clothing, rain protection, sufficient water and high-energy food). Take a well-equipped first aid kit and basic first aid knowledge, including items for blisters, wounds, heat and cold. Test your equipment beforehand and train by hiking with a full rucksack, and agree that you can always turn back if in doubt or if the weather worsens.
Essential first aid materials include plasters and blister plasters, sports tape, disinfectant, a tick remover, small scissors and painkillers, supplemented with an emergency blanket, emergency whistle and lip balm. First clean small wounds (water/disinfectant), then cover them with a sterile plaster or dressing and secure with sports tape if needed. Treat developing blisters immediately with blister plasters or tape over the pressure point, and use hiking wool to reduce friction. Use the emergency blanket in cases of hypothermia (gold side facing outwards) and the emergency whistle to attract attention in emergencies.
Identify risks per landscape by analysing the terrain, weather, distance, elevation profile and coverage (mobile signal/reception) in advance, and by honestly comparing your physical condition and experience against these factors. Minimise general risks (injuries, getting lost, exhaustion) with well broken-in shoes, map/compass or GPS, layered clothing, sufficient water/food and an extensive first aid kit. Adapt your measures to each environment: in the mountains, pay extra attention to the weather and altitude sickness; in forests, to ticks, mud and getting lost; in open plains, to sun, heat and scarce shelter. Reduce the impact of incidents by sharing your route and emergency plan, hiking with at least one buddy, taking timely breaks and turning back if in doubt.
Essential emergency procedures include knowing how to alert the emergency services (112/national emergency numbers), applying basic first aid (controlling bleeding, stabilising a sprain, recognising hypothermia/heat-related problems) and knowing when to turn back. Make sure someone always knows your route and expected return time. Indispensable means of communication are a charged phone with power bank, saved emergency numbers, and in truly remote areas a satellite phone or satellite messenger; in addition, an emergency whistle and, if possible, a signal mirror are important. Always carry these items on your person (not just in your rucksack) so that you still have them if you fall or lose your pack.